Your cart is currently empty!

Forum
Improvements, ideas, new developments DESTINY
Quote from antibala on November 8, 2023, 8:31 amWelcome to the Forum.
I designed the chassis.
Here we can discuss everything about the chassis, which always could be better for sure !
Welcome to the Forum.
I designed the chassis.
Here we can discuss everything about the chassis, which always could be better for sure !
Quote from Taz Design on December 19, 2023, 12:15 pmBonjour
Tout d’abord, je tiens à vous féliciter pour votre excellent travail de conception.
Vos modèles de carrosserie de voiture sont magnifique, je viens d’imprimer le modèle de la 406 en 3 parties, la finition est superbe.
Maintenant je vais réaliser le châssis Destiny V3 en ABS, ça va être un vrai régal.
J’ai une idée de création de carrosserie RC depuis plusieurs mois, le modèle serait celui de la DELOREAN DMC 12 du film « retour vers le futur », seriez-vous en mesure de la concevoir.
Merci d’avance et bonne fête de fin d’année
Bonjour
Tout d’abord, je tiens à vous féliciter pour votre excellent travail de conception.
Vos modèles de carrosserie de voiture sont magnifique, je viens d’imprimer le modèle de la 406 en 3 parties, la finition est superbe.
Maintenant je vais réaliser le châssis Destiny V3 en ABS, ça va être un vrai régal.
J’ai une idée de création de carrosserie RC depuis plusieurs mois, le modèle serait celui de la DELOREAN DMC 12 du film « retour vers le futur », seriez-vous en mesure de la concevoir.
Merci d’avance et bonne fête de fin d’année
Quote from Szilard on January 17, 2024, 3:46 pmBonjour Taz!
Welcome to the FORUM!I hope you don’t mind if we answer you in English, so more people could be included!
Thank you very much for your kind words! The Taxi model is something truly unique in our country as well, so there’s a reason we designed it 😉
If you have any questions about DESTINY, please do not hesitate to ask! Even better, if you have something to share about DESTINY’s further Development! (if you have an idea how something can be done better or more efficiently on our CHASSIS)
The Delorean is very special indeed. Right now our capacity is very strained as one of us is still doing this as a side job. Unfortunately, that’s my bro who is doing all the designing.The DELOREAN is something I think all of our generation is yearning for on some level, so we would definitely very much like to design it for DESTINY along the road!
We wish You a very HAPPY new YEAR as well!
We hope building DESTINY is bringing you much JOY and something exceptional!And now to EVERYONE on this FORUM: Let’s develop this SOCIAL CHASSIS further!
Peace out!
Bonjour Taz!
Welcome to the FORUM!
I hope you don’t mind if we answer you in English, so more people could be included!
Thank you very much for your kind words! The Taxi model is something truly unique in our country as well, so there’s a reason we designed it 😉
If you have any questions about DESTINY, please do not hesitate to ask! Even better, if you have something to share about DESTINY’s further Development! (if you have an idea how something can be done better or more efficiently on our CHASSIS)
The Delorean is very special indeed. Right now our capacity is very strained as one of us is still doing this as a side job. Unfortunately, that’s my bro who is doing all the designing.
The DELOREAN is something I think all of our generation is yearning for on some level, so we would definitely very much like to design it for DESTINY along the road!
We wish You a very HAPPY new YEAR as well!
We hope building DESTINY is bringing you much JOY and something exceptional!
And now to EVERYONE on this FORUM: Let’s develop this SOCIAL CHASSIS further!
Peace out!
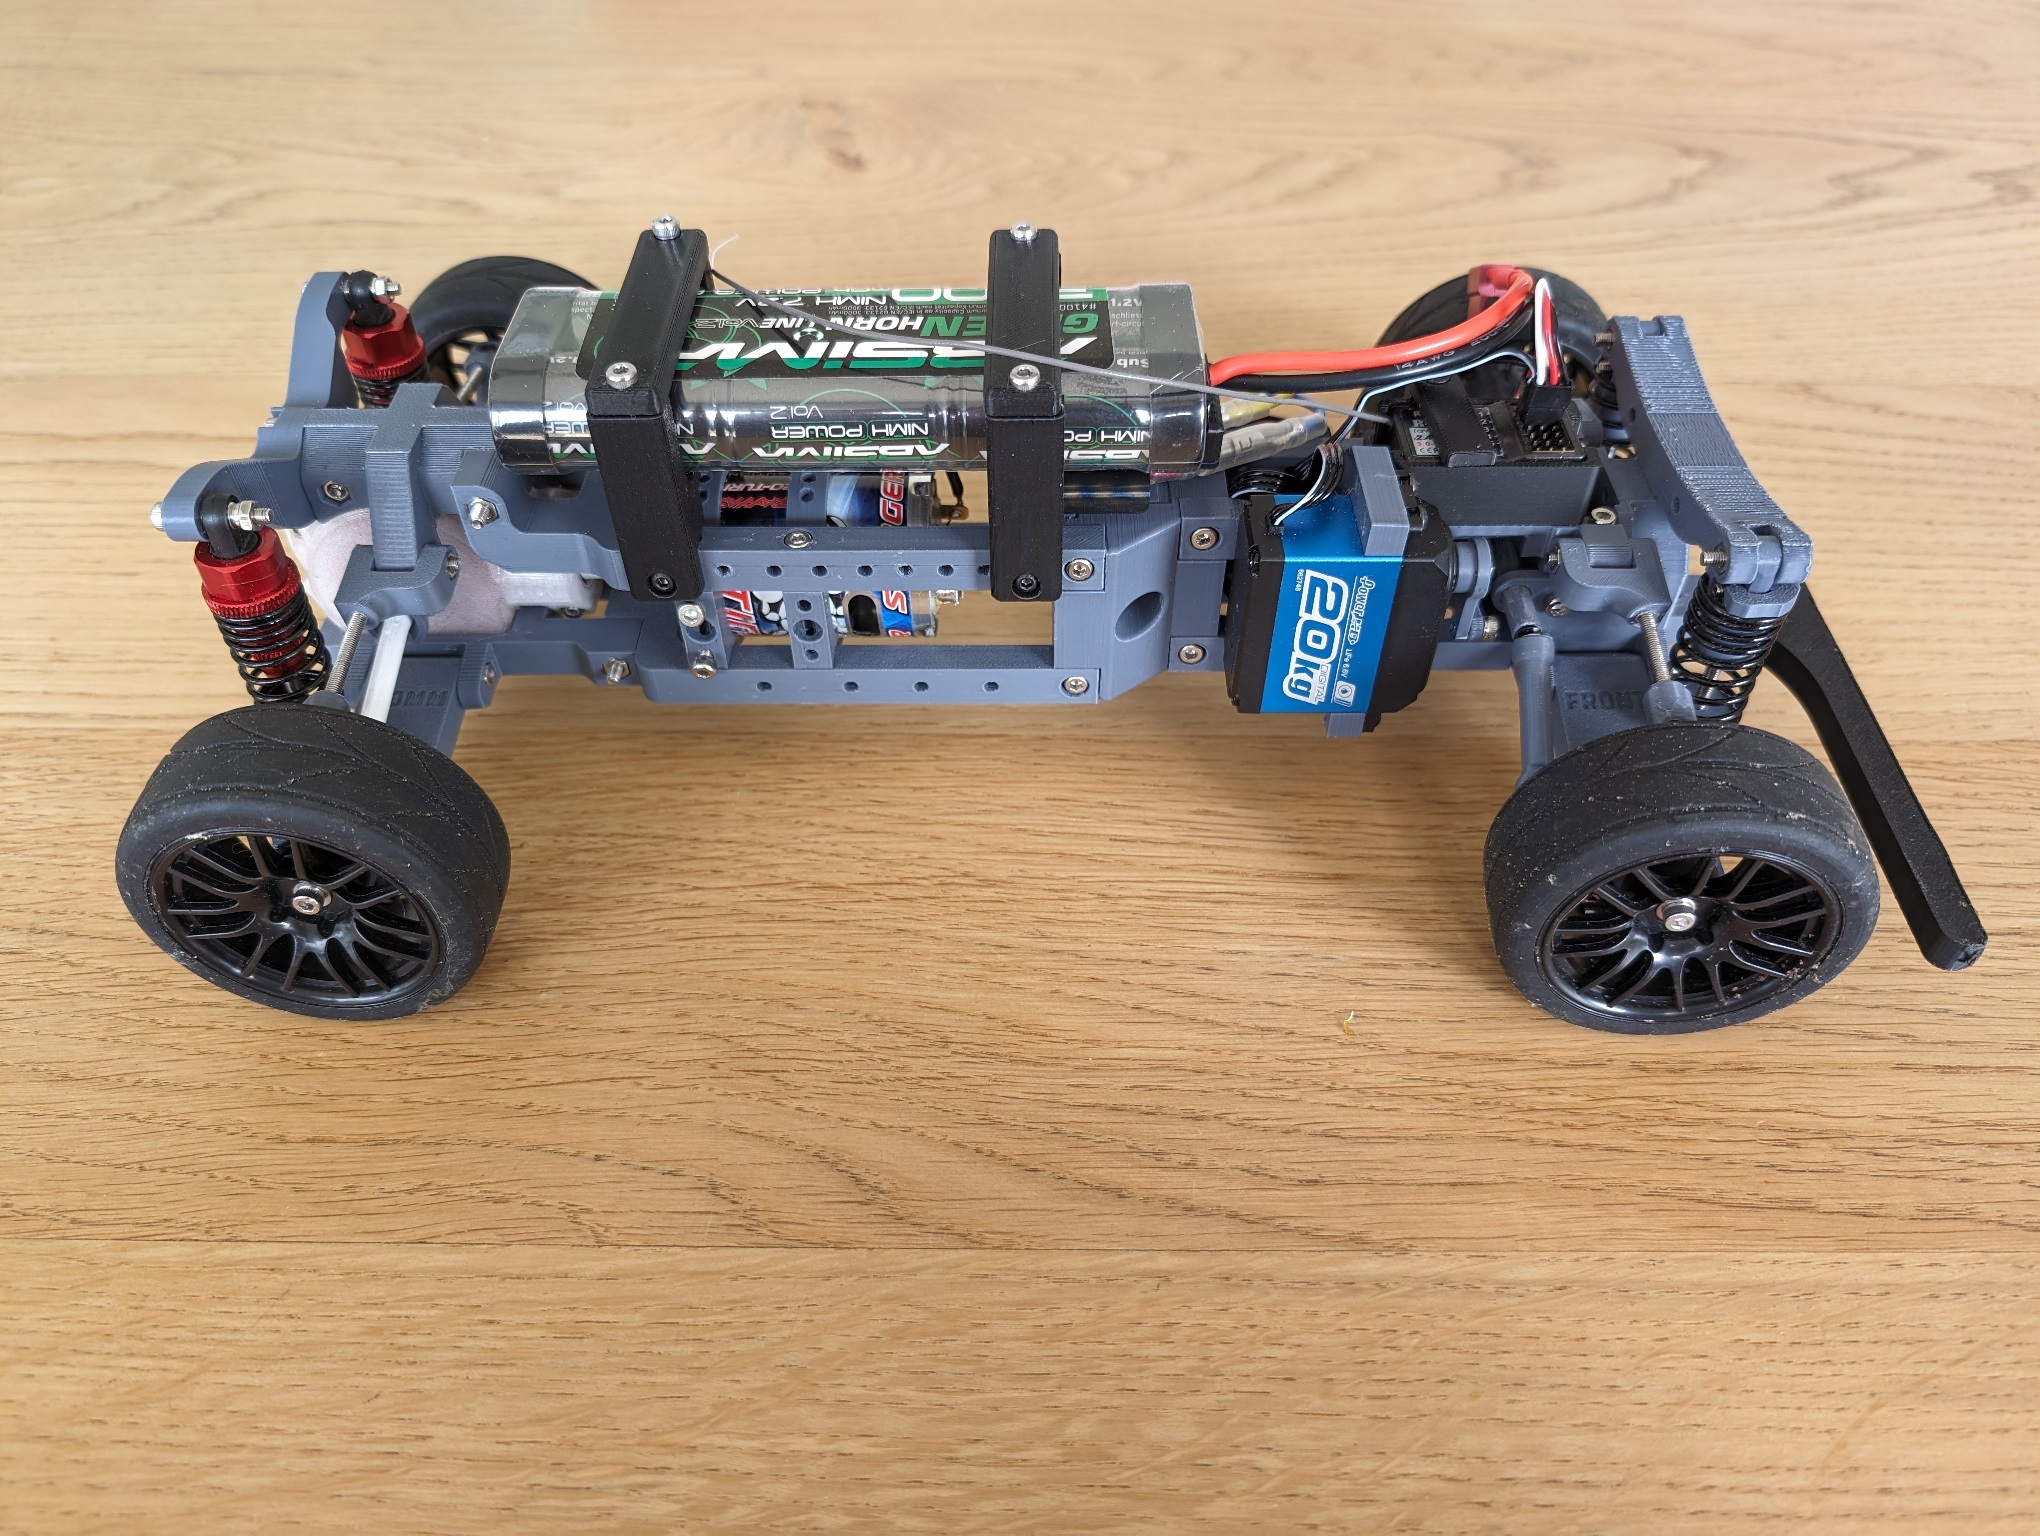
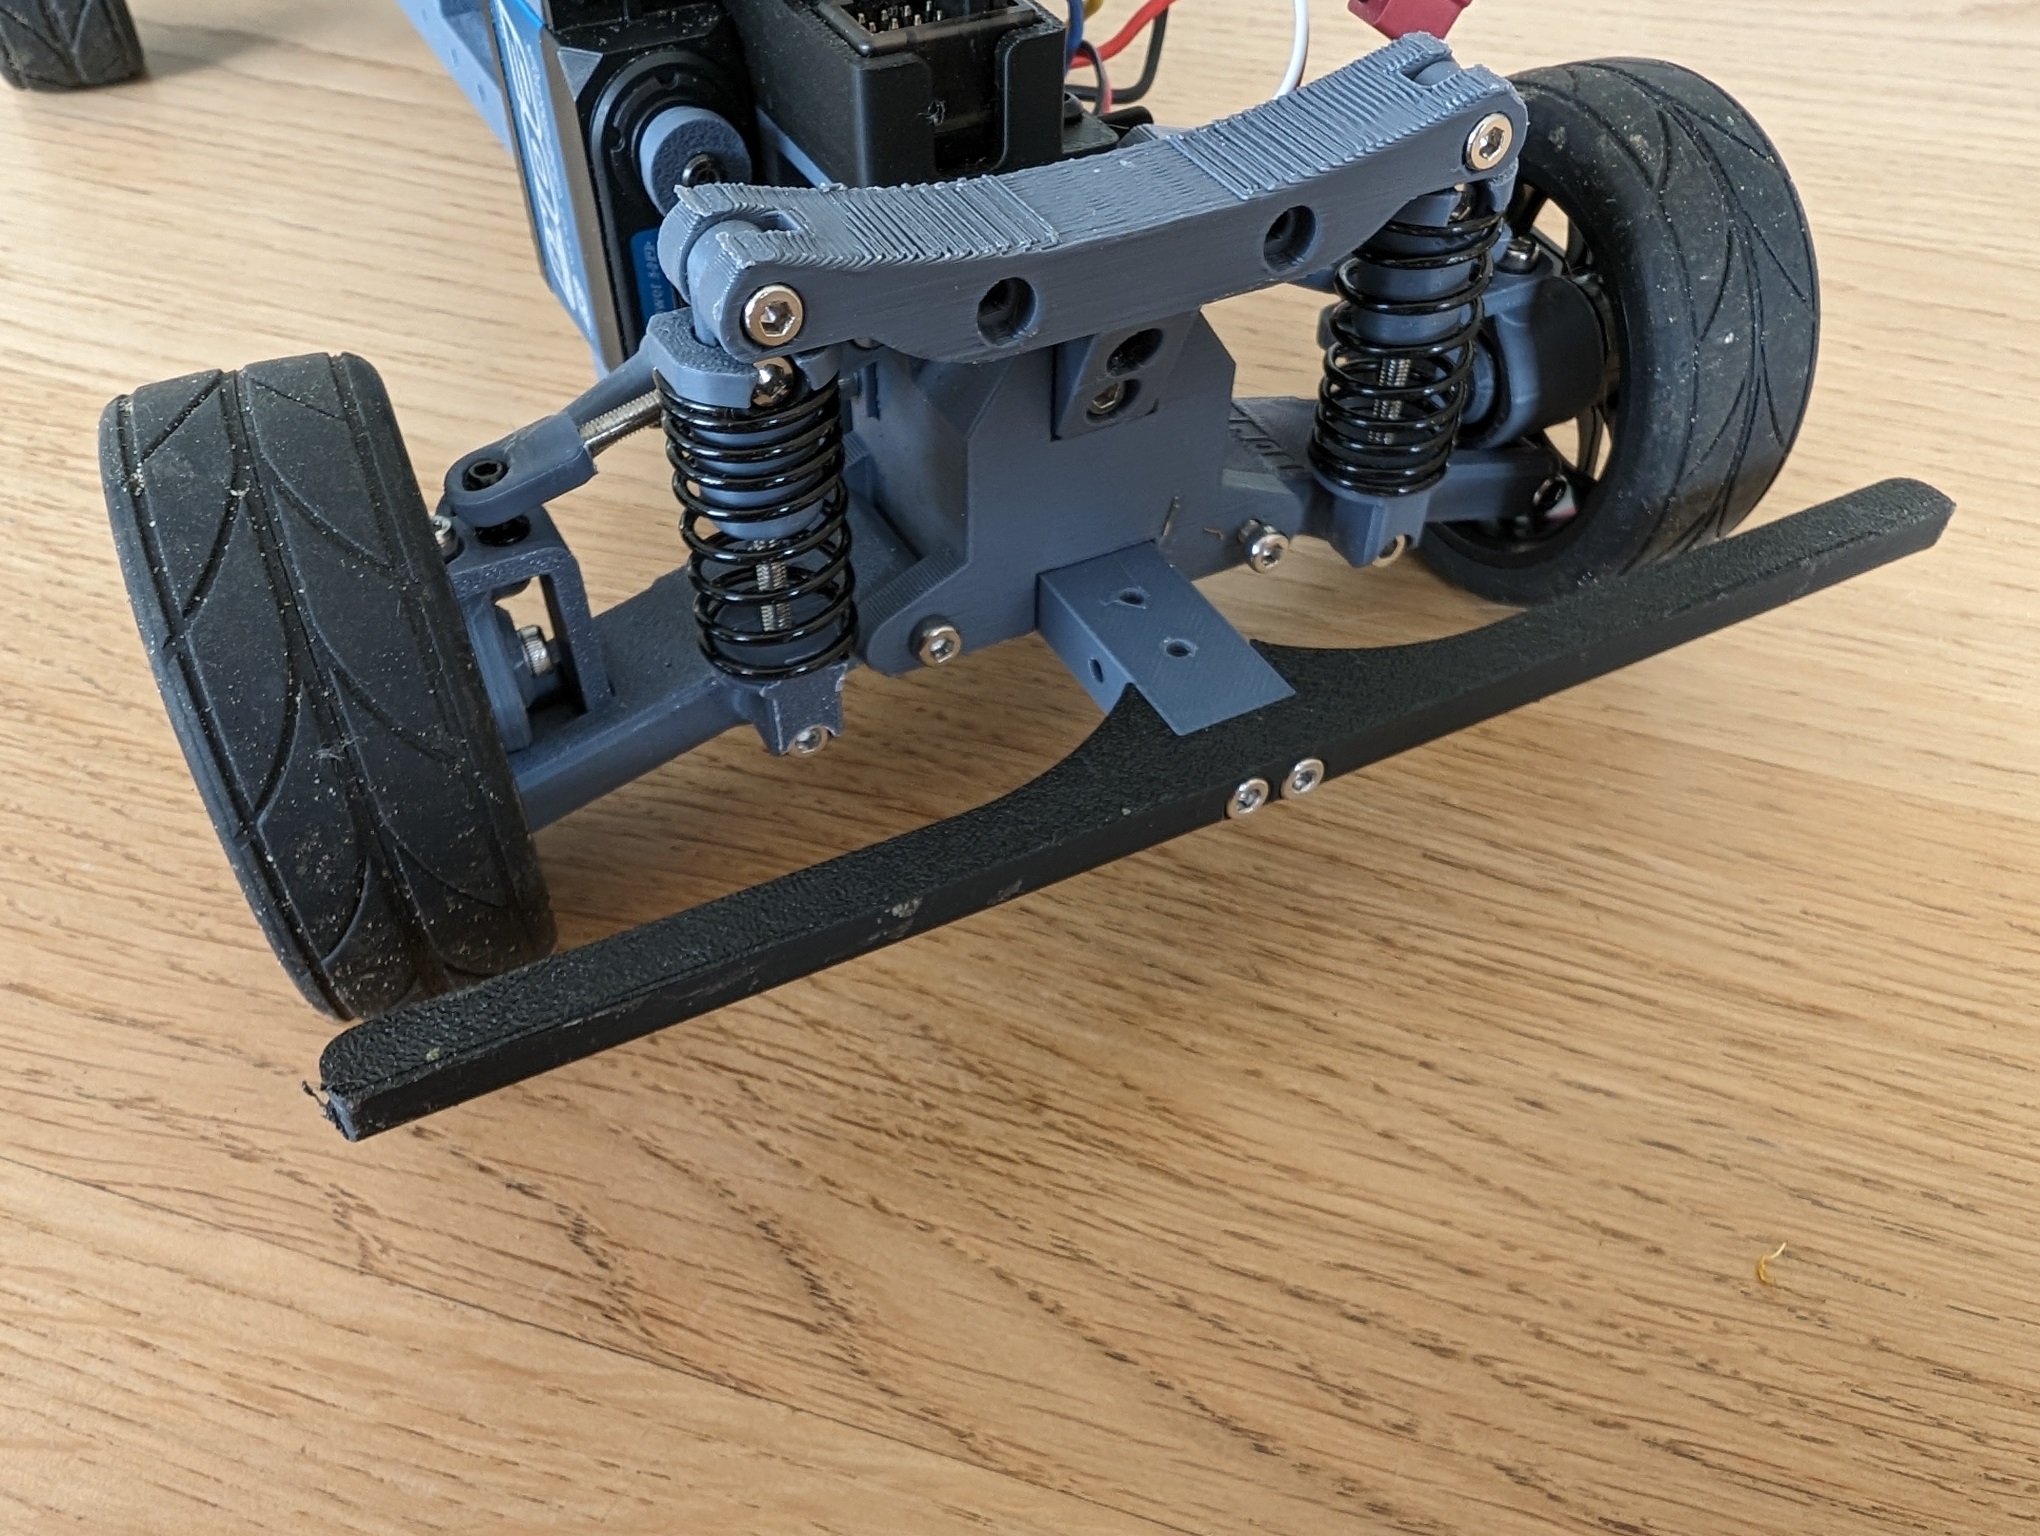
Quote from jt on April 21, 2024, 12:09 pmI’m still building my Destiny ;-), and I’ve created/modified some parts to make things work for me.
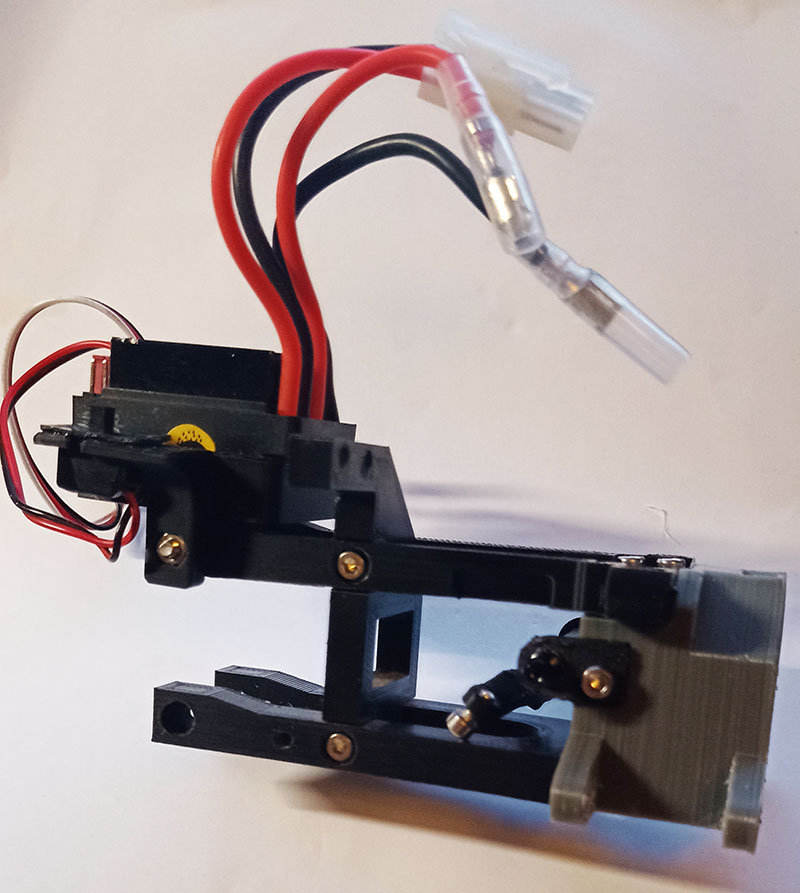
- Radiolink R6FG receiver top mount – it has a gyro, so it has to be mounted horizontally (I think) so I create this little top mount. It can be screwed on a modified version of “03_Front_tower_left” in which I added 2 screw holes.
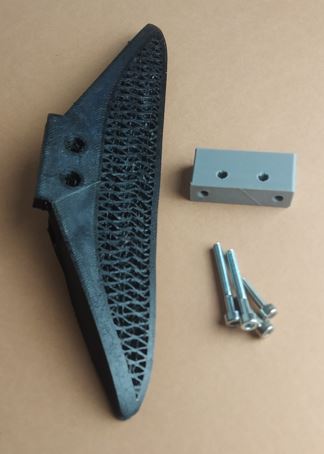
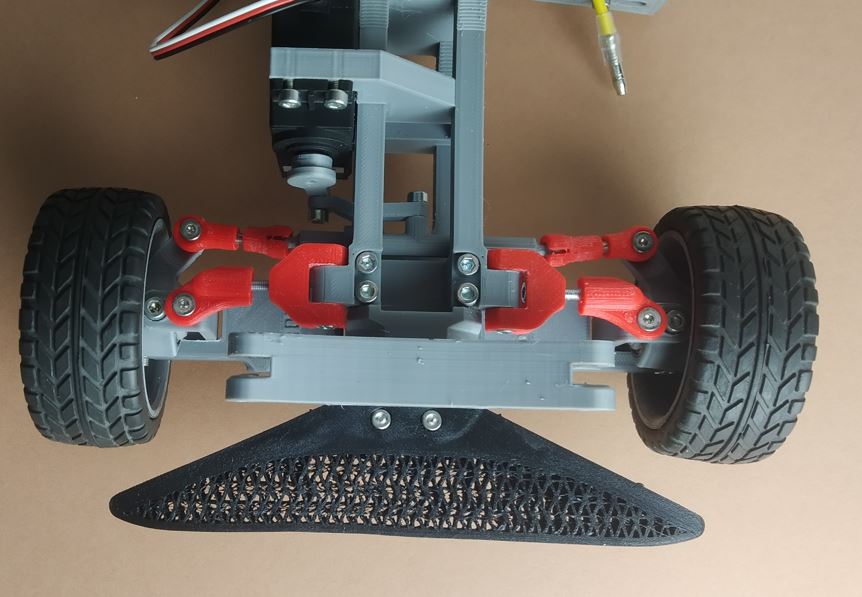
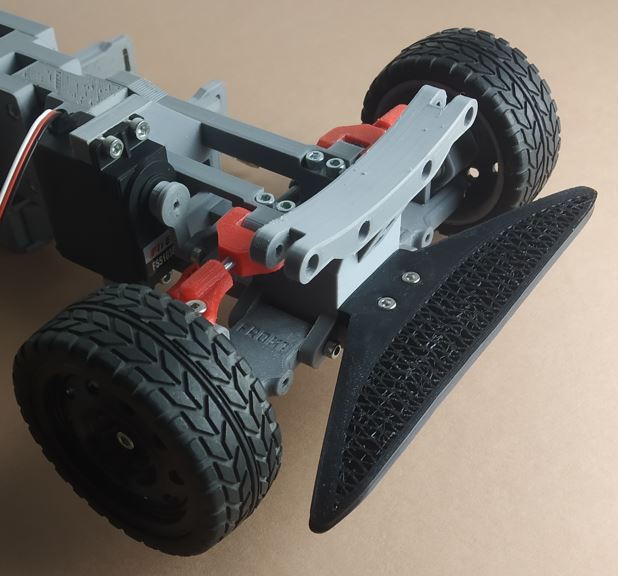
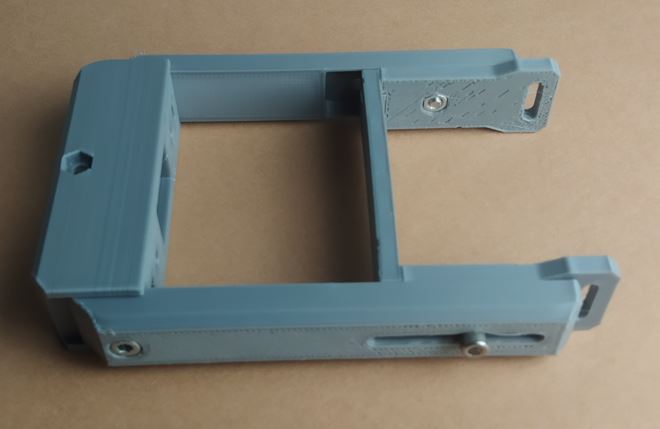
- Bumper – I don’t have a body yet and to protect my Destiny from my bad driving skills I created this minimalist bumper. It’s attached to a modified version of “02_Front_tower_lower”. I made this last part a bit longer and I added some mounting options for future stuff (a front spoiler? a bigger/better bumper? a splitter?)
- 6 cell Nimh battery brackets – the front bracket has a little extension to avoid the battery slamming into the front in case of a crash. No changes to the original parts were needed, it can be mounted on any existing Destiny.
I’m happy to share the models/STLs with anybody, or to donate them to the awesome MFactory33 team so they can maintain “community parts” somewhere central?
I’m still building my Destiny ;-), and I’ve created/modified some parts to make things work for me.
- Radiolink R6FG receiver top mount – it has a gyro, so it has to be mounted horizontally (I think) so I create this little top mount. It can be screwed on a modified version of “03_Front_tower_left” in which I added 2 screw holes.
- Bumper – I don’t have a body yet and to protect my Destiny from my bad driving skills I created this minimalist bumper. It’s attached to a modified version of “02_Front_tower_lower”. I made this last part a bit longer and I added some mounting options for future stuff (a front spoiler? a bigger/better bumper? a splitter?)
- 6 cell Nimh battery brackets – the front bracket has a little extension to avoid the battery slamming into the front in case of a crash. No changes to the original parts were needed, it can be mounted on any existing Destiny.
I’m happy to share the models/STLs with anybody, or to donate them to the awesome MFactory33 team so they can maintain “community parts” somewhere central?
Uploaded files:Quote from Szilard on April 22, 2024, 1:31 pmHey Jan,
thanks for your innovations!!! You’re amazing :DD
You can send the STLs to our email address if you’d like to share them. We’d be happy to receive them that’s for sure 🙂 (akivonmodel@gmail.com)We have been pushing our selves to create a bumper for a very long time. The one thing what kept this development at bay is the universality of DESTINY. As all bodies are different and we always aim model authenticity (so all parts must be proportionate to the real car meaning no distortions). So far, we could not achieve a very flexible (easily modifiable bumper system) which is to incorporate all the mentioned features. I hope Balázs (the geek from the two of us:) can now be inspired by You and make this feature happen and become a core part of DESTINY
Hey Jan,
thanks for your innovations!!! You’re amazing :DD
You can send the STLs to our email address if you’d like to share them. We’d be happy to receive them that’s for sure 🙂 (akivonmodel@gmail.com)
We have been pushing our selves to create a bumper for a very long time. The one thing what kept this development at bay is the universality of DESTINY. As all bodies are different and we always aim model authenticity (so all parts must be proportionate to the real car meaning no distortions). So far, we could not achieve a very flexible (easily modifiable bumper system) which is to incorporate all the mentioned features. I hope Balázs (the geek from the two of us:) can now be inspired by You and make this feature happen and become a core part of DESTINY
Quote from renthal on May 8, 2024, 2:18 pmSziasztok!
I have a tiny little suggestion: is it possible to extend the steering angle just a “little” ? I am looking for a 3D printable 1/10 scale ,drift chassis, and DESTINY is the best yet, except the steering angle 🙁
More or less like the pic below:
Looking forward for a solution, thanks in advance!renthal from Hungary
Sziasztok!
I have a tiny little suggestion: is it possible to extend the steering angle just a “little” ? I am looking for a 3D printable 1/10 scale ,drift chassis, and DESTINY is the best yet, except the steering angle 🙁
More or less like the pic below:
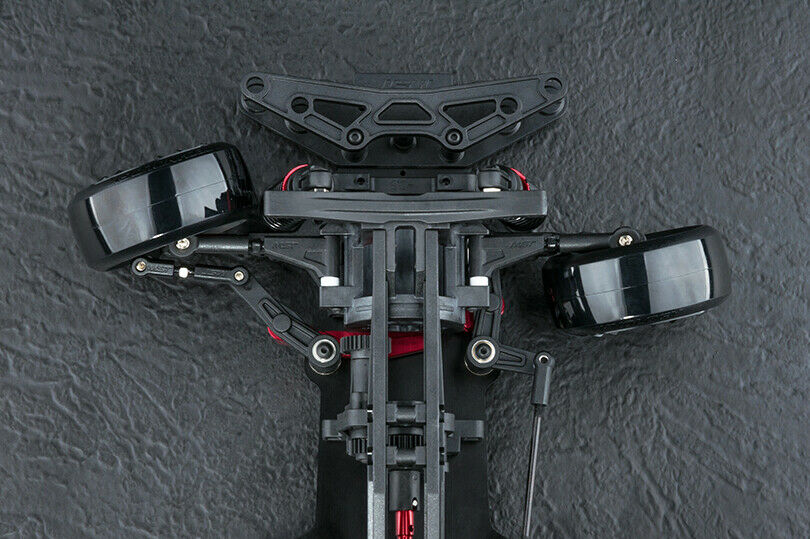
Looking forward for a solution, thanks in advance!
renthal from Hungary
Quote from Szilard on May 31, 2024, 12:03 amSzassz Renthal!
For some days now My bro started to build a 4×4 drifting chassis (a Destiny off spring!!! Name is still under consideration! :D)
First, it will appear in our next Movie in a cool drifting chase under one of our bodies. After that movie is uploaded we will create a build video as well!
Indeed the steering angle is an issue right now. I think it moves bro’s braincells (szürkeállományát neki e!) quite amazingly!
We’ve been wanting to realize this “drifting chassis” for a long long time now. Finally, we are able to focus on it fully after we bled out on shorts 🙁 ….Thanks for your inspiring push!!!
Csecs és harisnya!
Szassz Renthal!
For some days now My bro started to build a 4×4 drifting chassis (a Destiny off spring!!! Name is still under consideration! :D)
First, it will appear in our next Movie in a cool drifting chase under one of our bodies. After that movie is uploaded we will create a build video as well!
Indeed the steering angle is an issue right now. I think it moves bro’s braincells (szürkeállományát neki e!) quite amazingly!
We’ve been wanting to realize this “drifting chassis” for a long long time now. Finally, we are able to focus on it fully after we bled out on shorts 🙁 ….
Thanks for your inspiring push!!!
Csecs és harisnya!
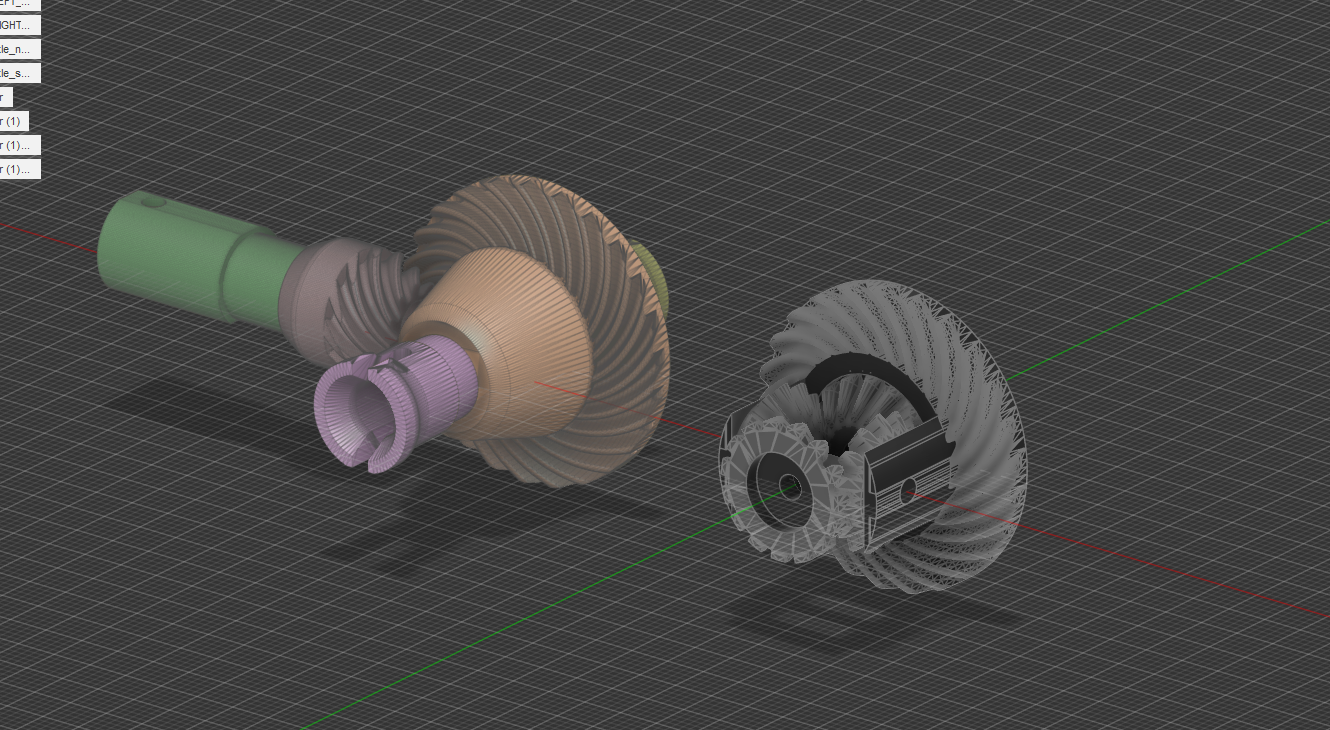
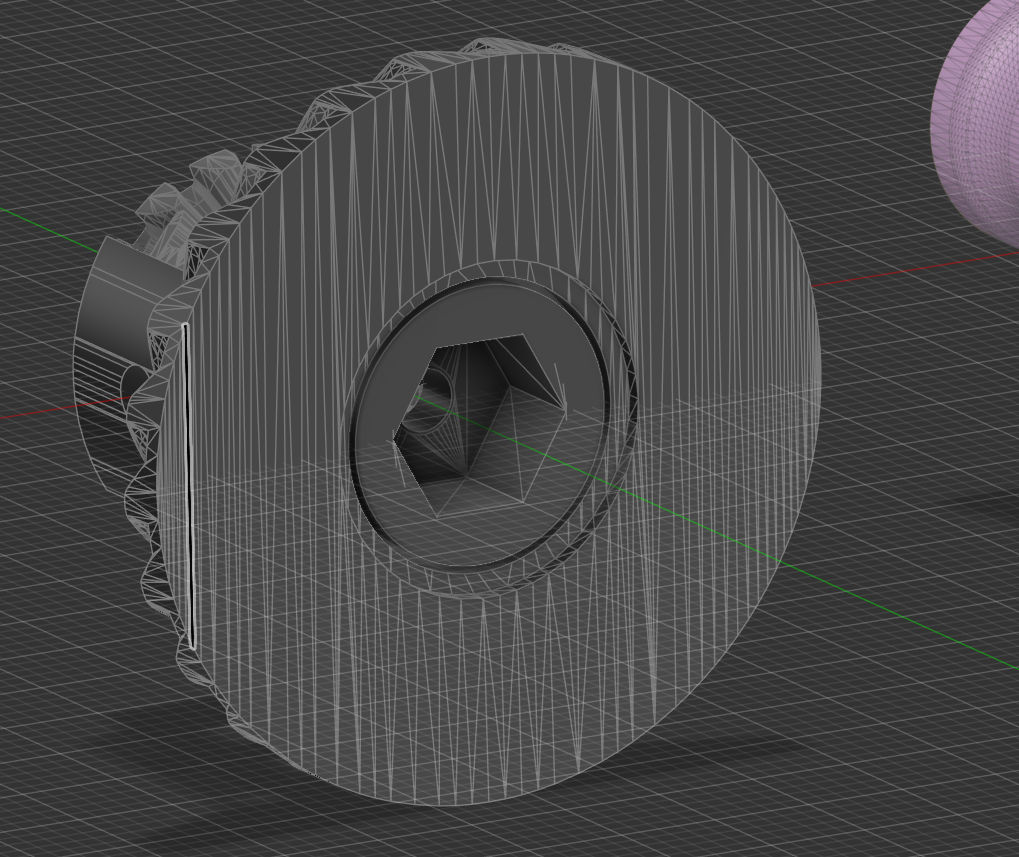
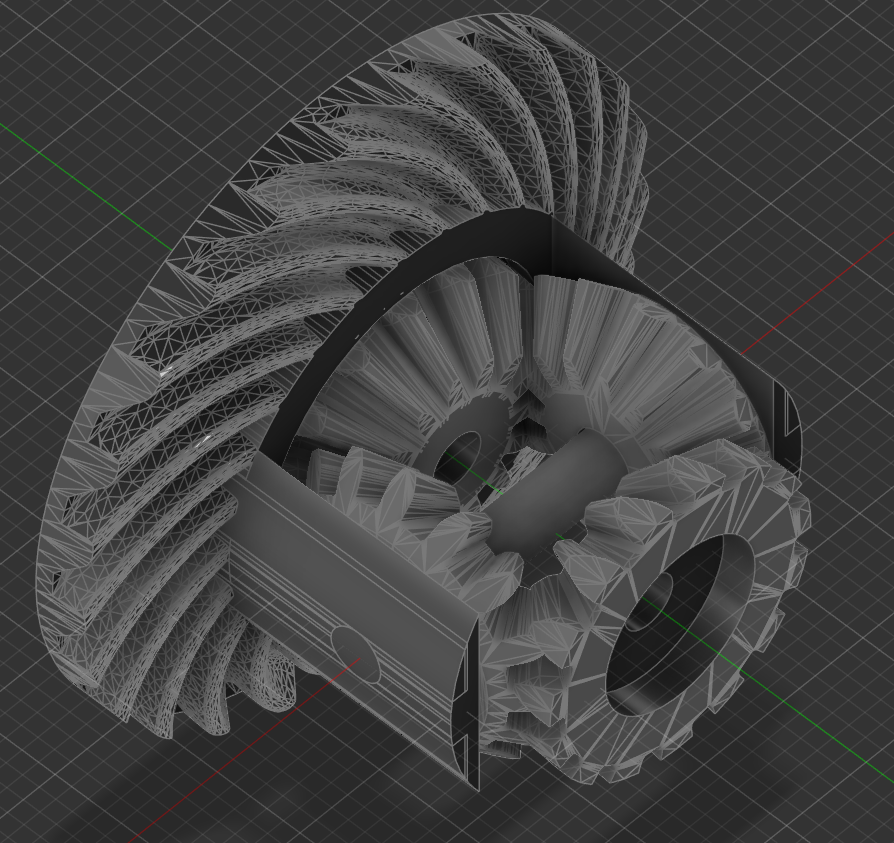
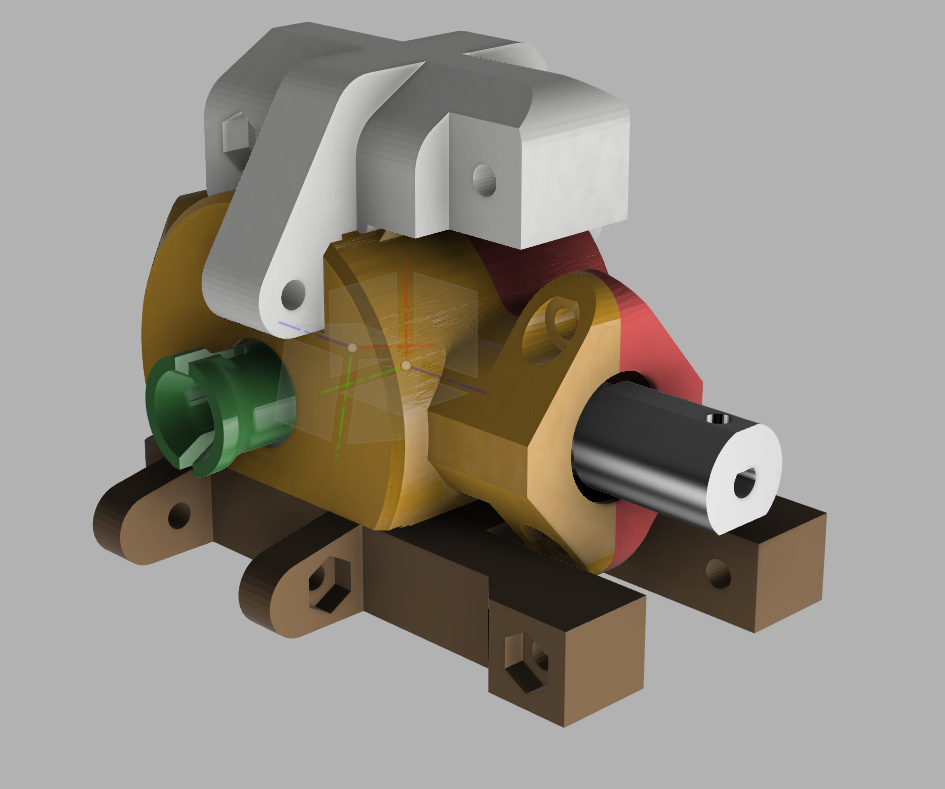
Quote from Kelpik on August 20, 2024, 3:03 amIm attempting to make a differential for 3D printing. I’m modifying this differential model to be compatible with the chassis and the current gearbox housing dimensions.
I might just end up modifying the gearbox housing and some other parts to make it fit but it would be nice if i managed to somehow make it work.
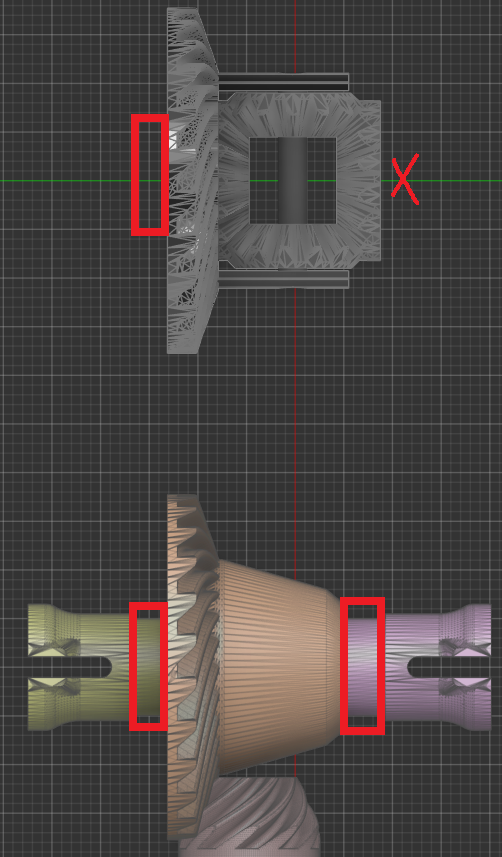
On the last image you can see that its wide to the right, about 4mm. I will have to extend the gearbox in both ways symmetrically for it to be able to fit a bearing. And modify some of the chassis somehow.
Im attempting to make a differential for 3D printing. I’m modifying this differential model to be compatible with the chassis and the current gearbox housing dimensions.
I might just end up modifying the gearbox housing and some other parts to make it fit but it would be nice if i managed to somehow make it work.
On the last image you can see that its wide to the right, about 4mm. I will have to extend the gearbox in both ways symmetrically for it to be able to fit a bearing. And modify some of the chassis somehow.
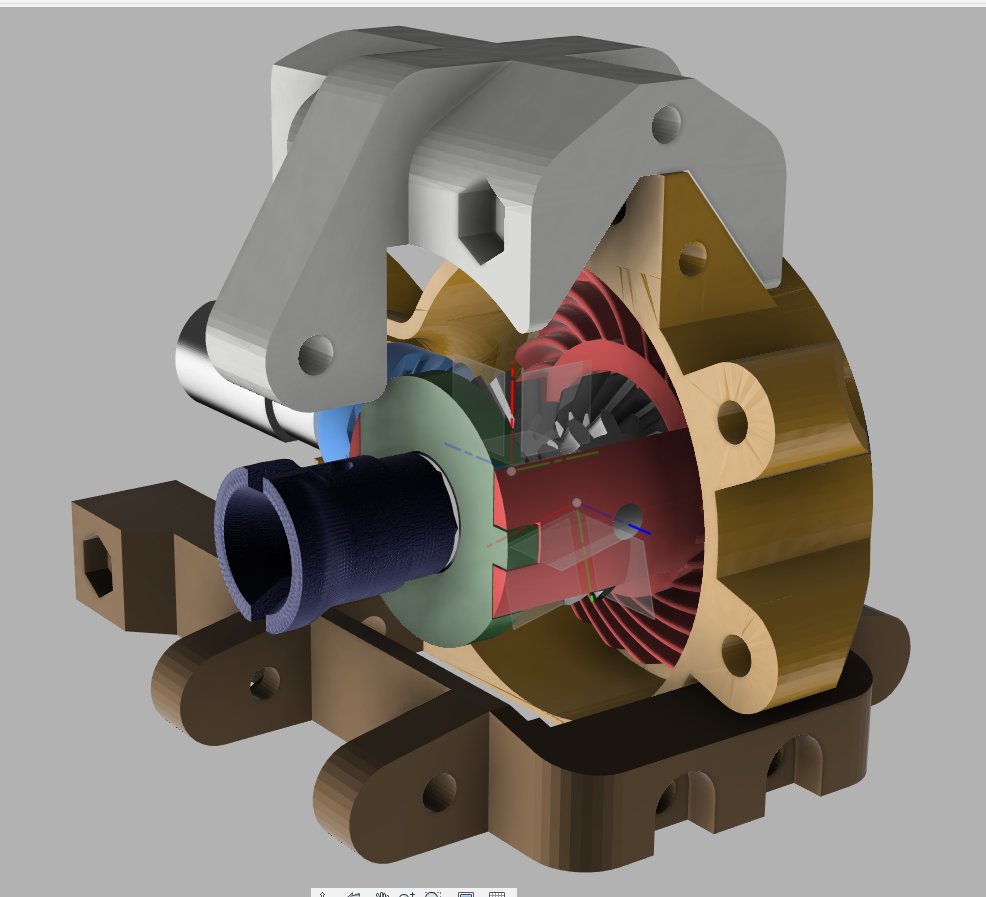
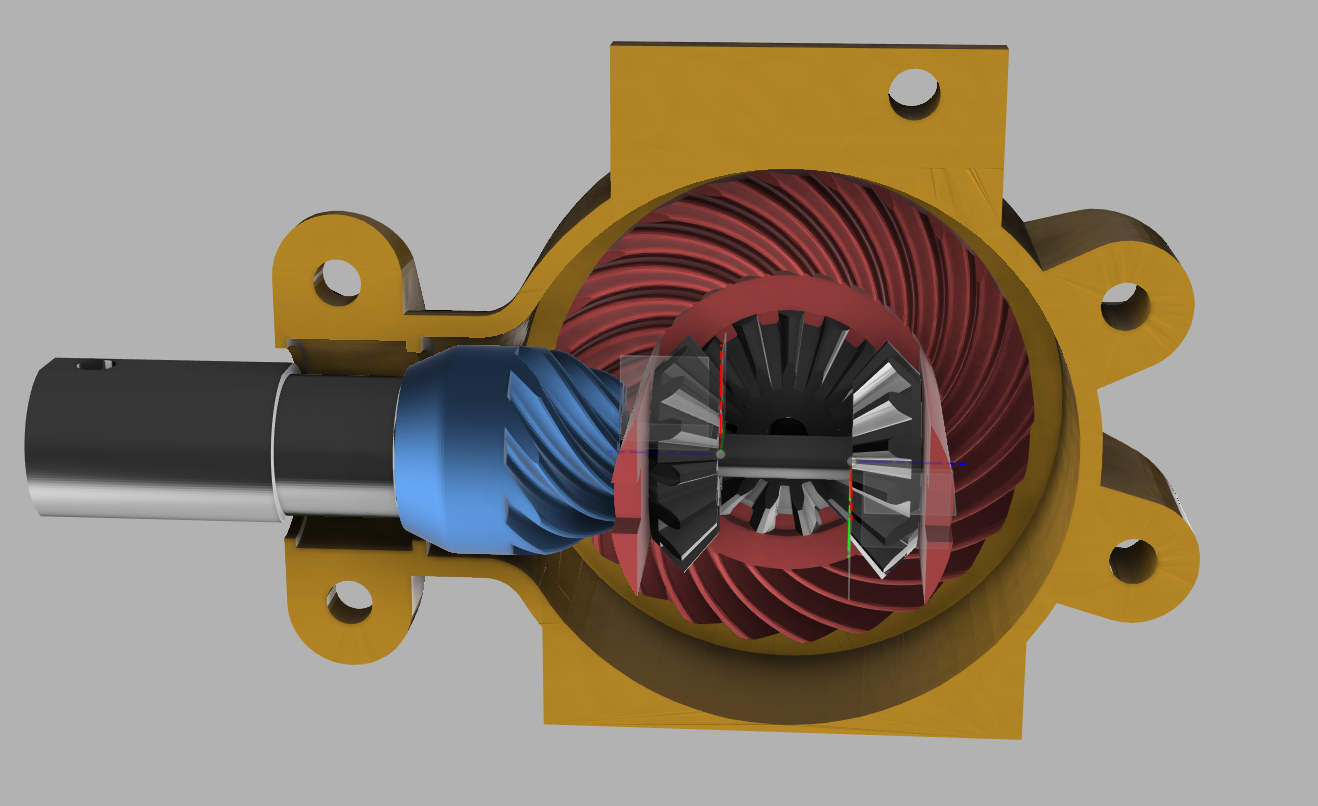
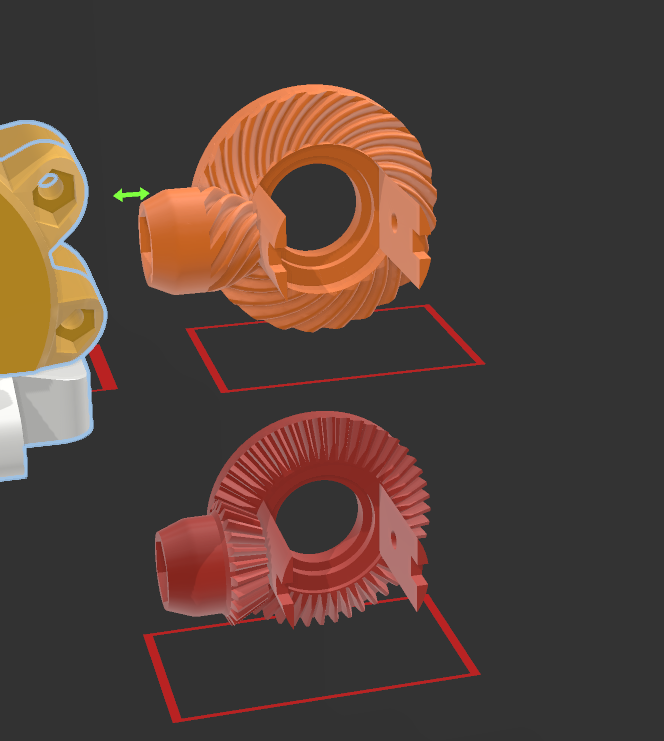
Uploaded files:Quote from Kelpik on August 22, 2024, 1:20 amTime to to print it again… Had to remake the whole thing because i found too many problems with the fitment. And Fusion just wasn’t cooperating, there were just too many triangles and everything had weird dimensions. I remade the gearbox housing from scratch. In the file there is a set of gears below the gearbox which i will test to see if they work better in this gearbox.
Here is the file with the gearbox in the 3mf format:
https://www.mediafire.com/file/w1e9nb712hqcjzh/Open_Differential_v6.3mf/file
Time to to print it again… Had to remake the whole thing because i found too many problems with the fitment. And Fusion just wasn’t cooperating, there were just too many triangles and everything had weird dimensions. I remade the gearbox housing from scratch. In the file there is a set of gears below the gearbox which i will test to see if they work better in this gearbox.
Here is the file with the gearbox in the 3mf format:
https://www.mediafire.com/file/w1e9nb712hqcjzh/Open_Differential_v6.3mf/file
Uploaded files:Quote from Rebel87 on August 23, 2024, 3:59 pmHere is a bracket for the FlySky RP7 reciever for mount on DESTINY chassis
RP7 – 3mf files
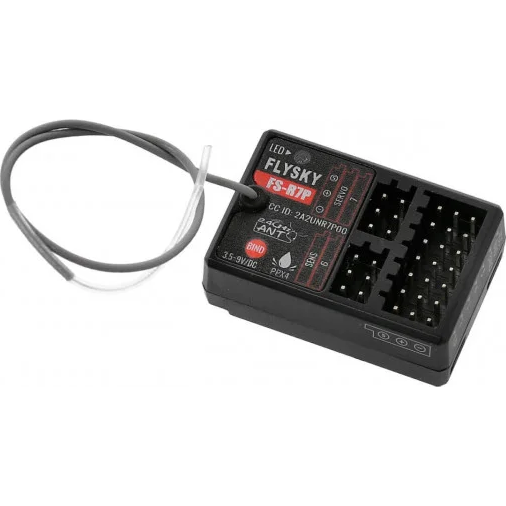
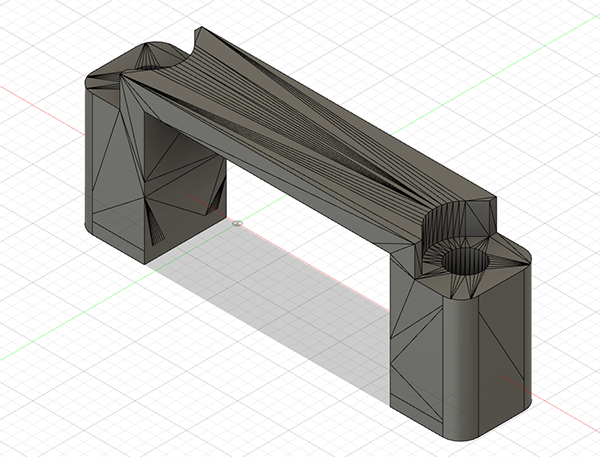
Here is a bracket for the FlySky RP7 reciever for mount on DESTINY chassis
RP7 – 3mf files
Uploaded files:Quote from Kelpik on August 25, 2024, 5:28 pmIt works. Haven’t tested it in action yet bc my destiny is still in pieces.
It works. Haven’t tested it in action yet bc my destiny is still in pieces.
Uploaded files:Quote from Szilard on August 27, 2024, 10:14 amCool Kelpik!
Looks amazing!
Hopefully it works.., although 3D printing has its weaknesses as this is the plastic “realm”. Test it thoroughly and keep us updated!!!
Cool Kelpik!
Looks amazing!
Hopefully it works.., although 3D printing has its weaknesses as this is the plastic “realm”. Test it thoroughly and keep us updated!!!
Quote from Rebel87 on September 3, 2024, 9:06 pmHi
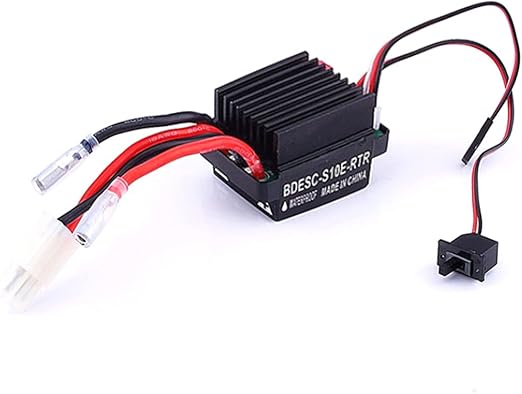
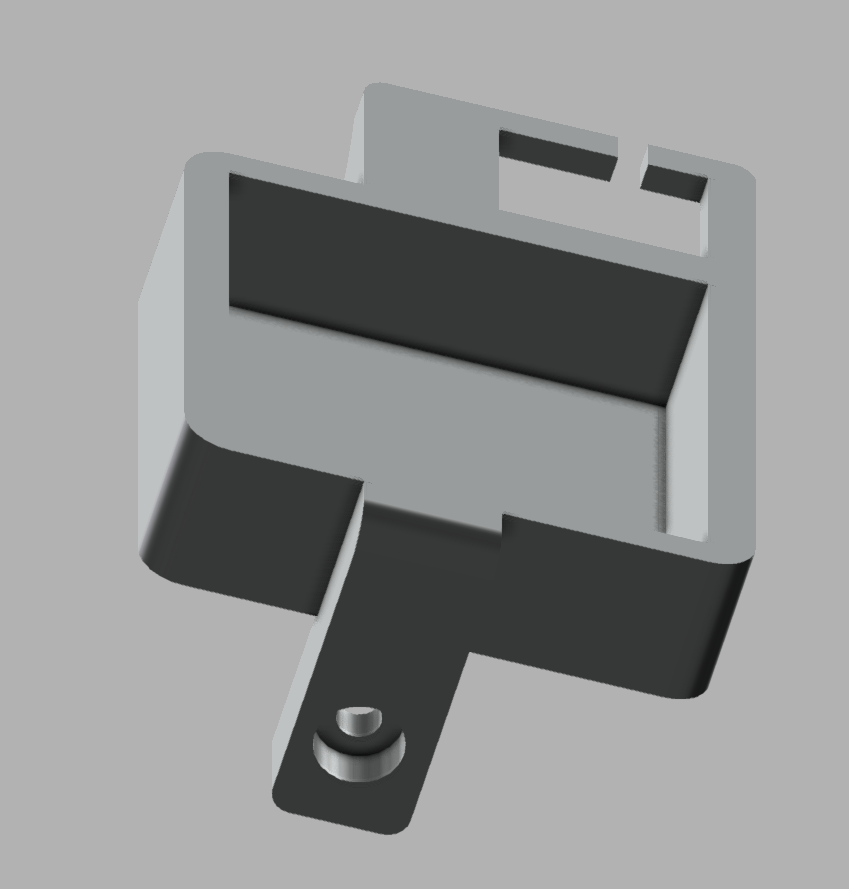
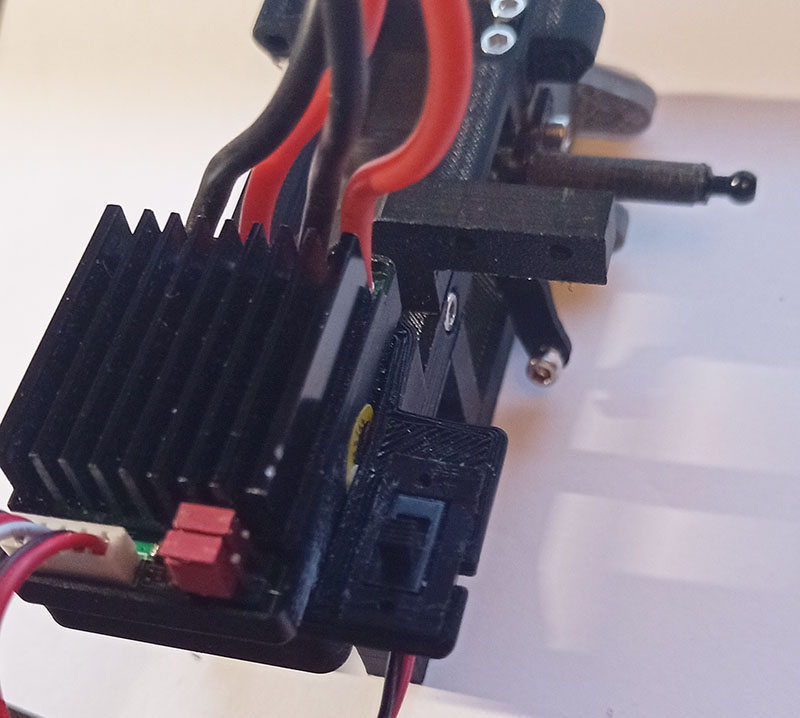
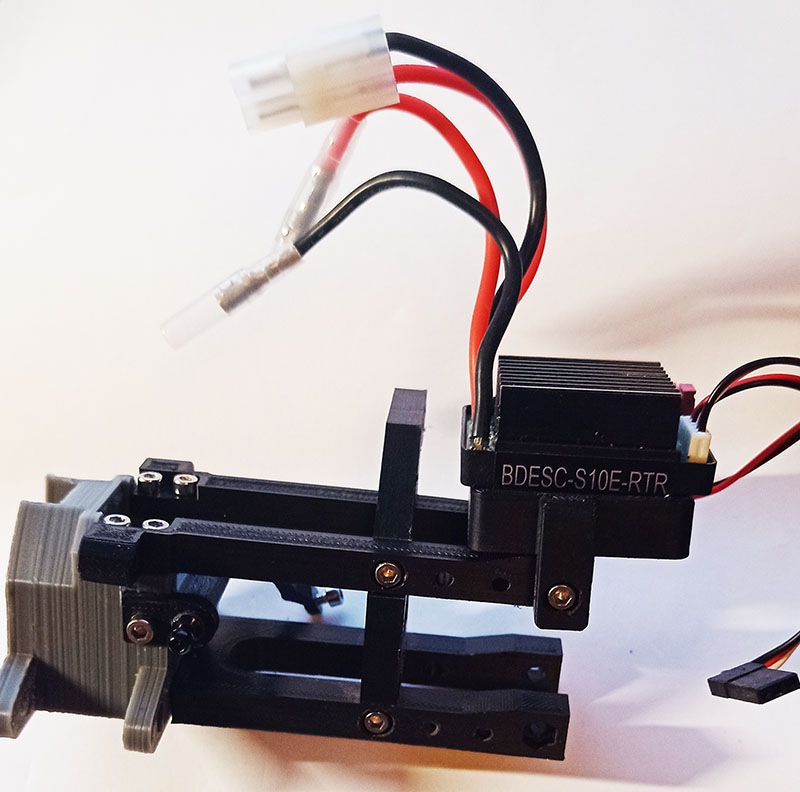
Here is a download for a320 rc motor bracket.
STL file a320 bracket
I have glued the on/off switch can’t get lose from controller.
Hi
Here is a download for a320 rc motor bracket.
STL file a320 bracket
I have glued the on/off switch can’t get lose from controller.
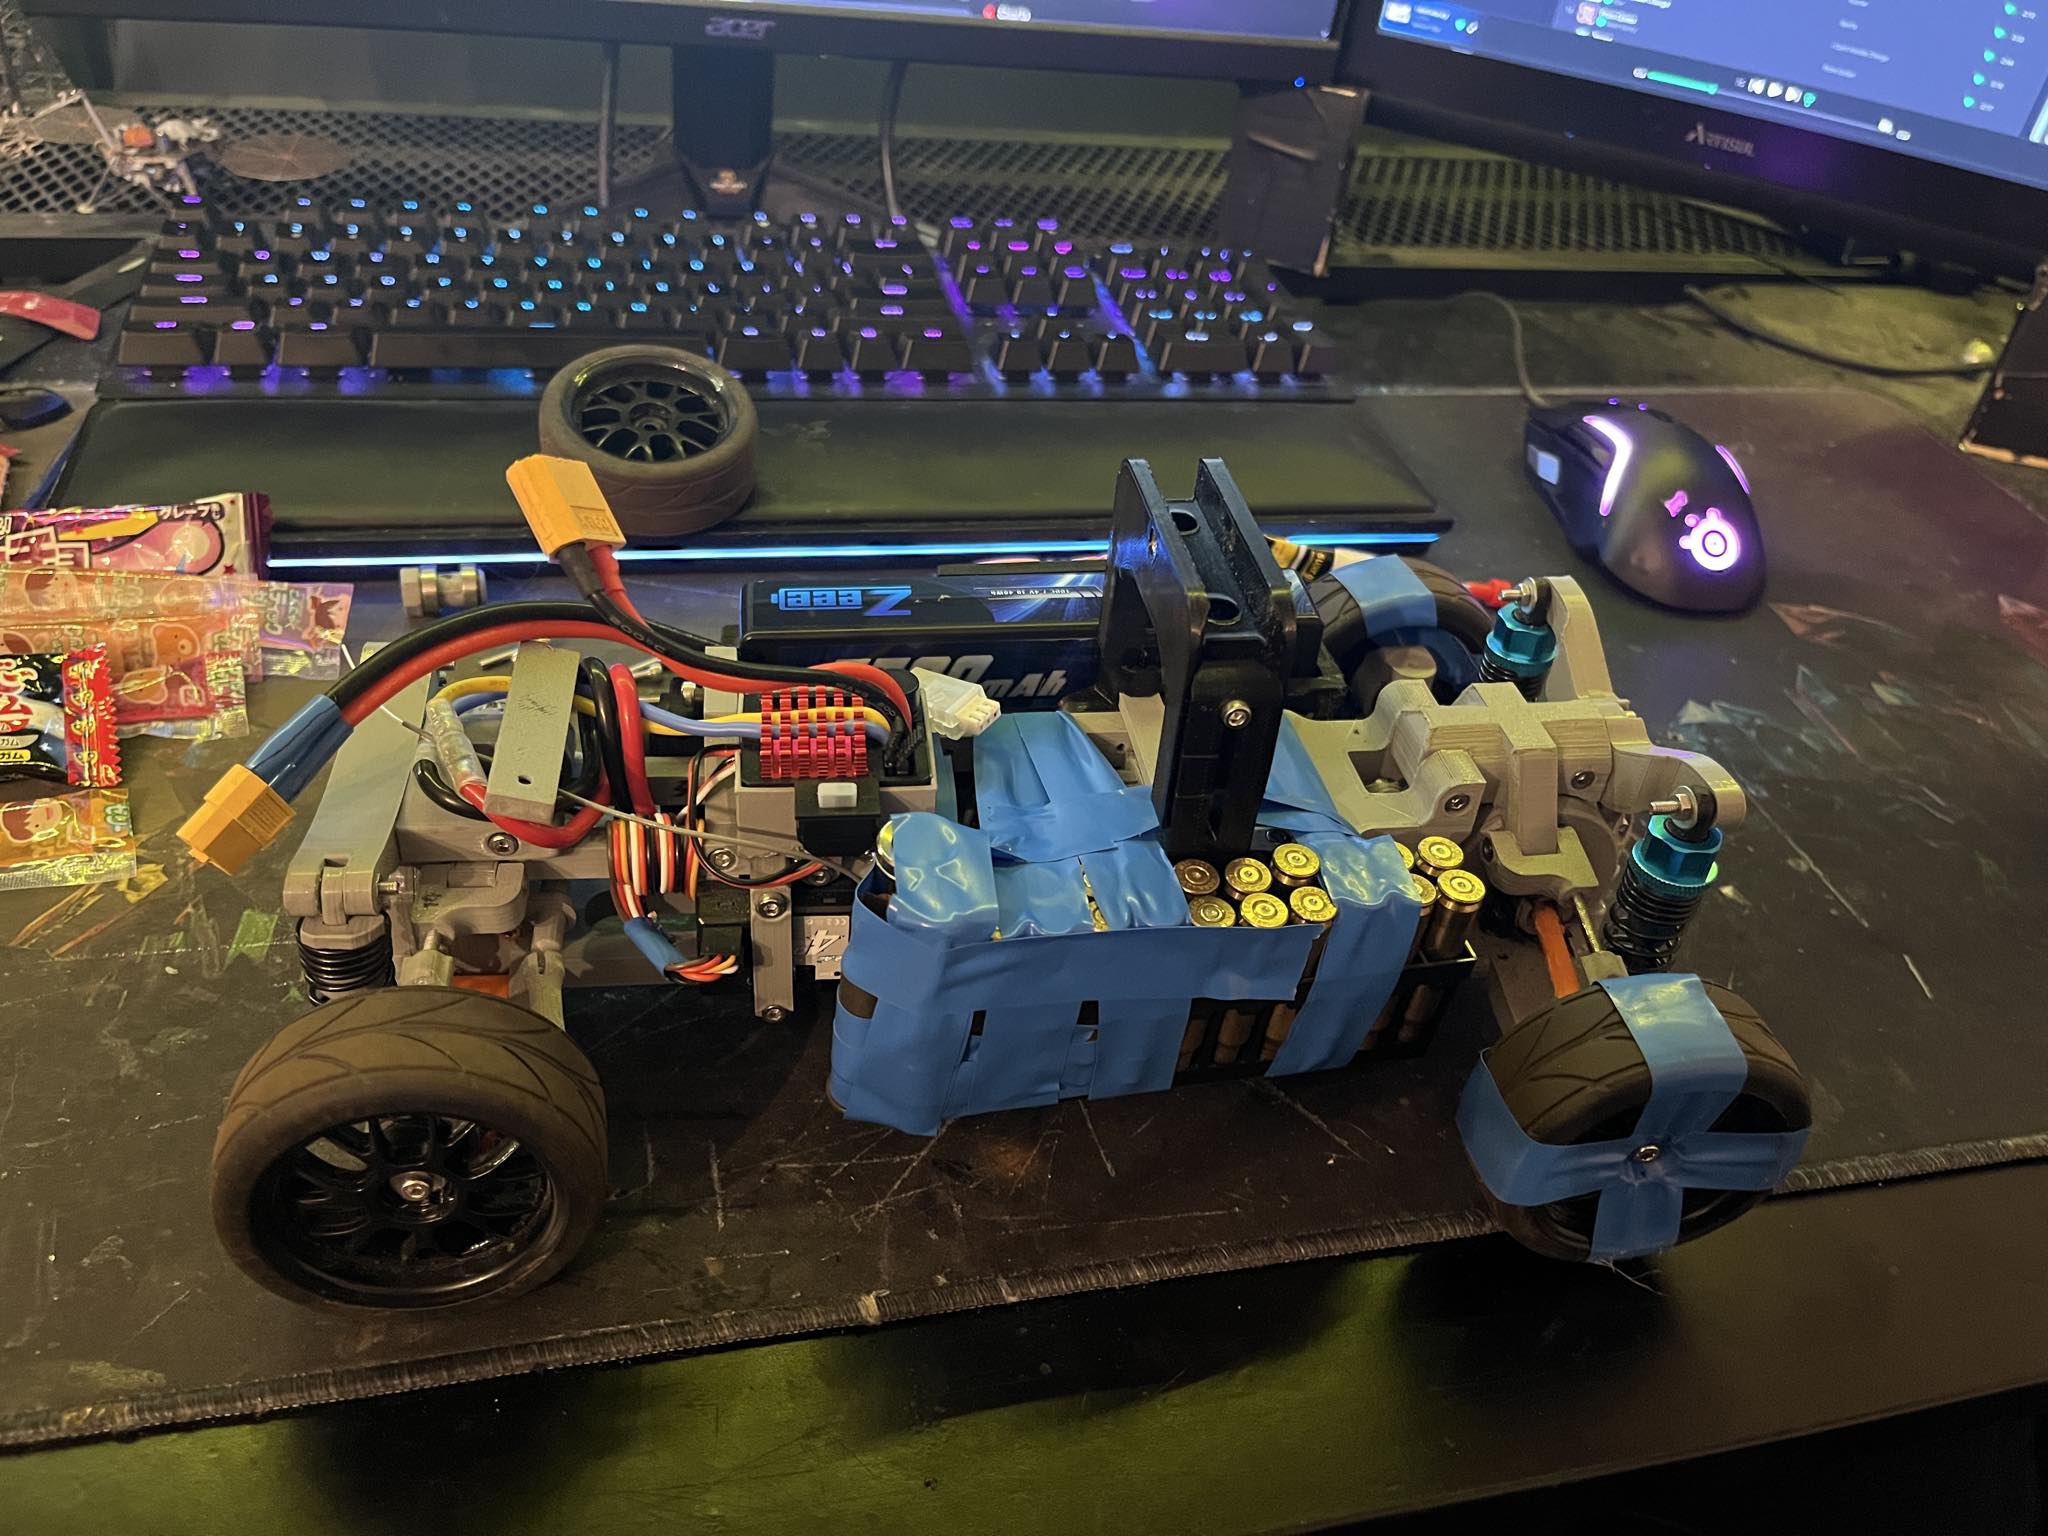
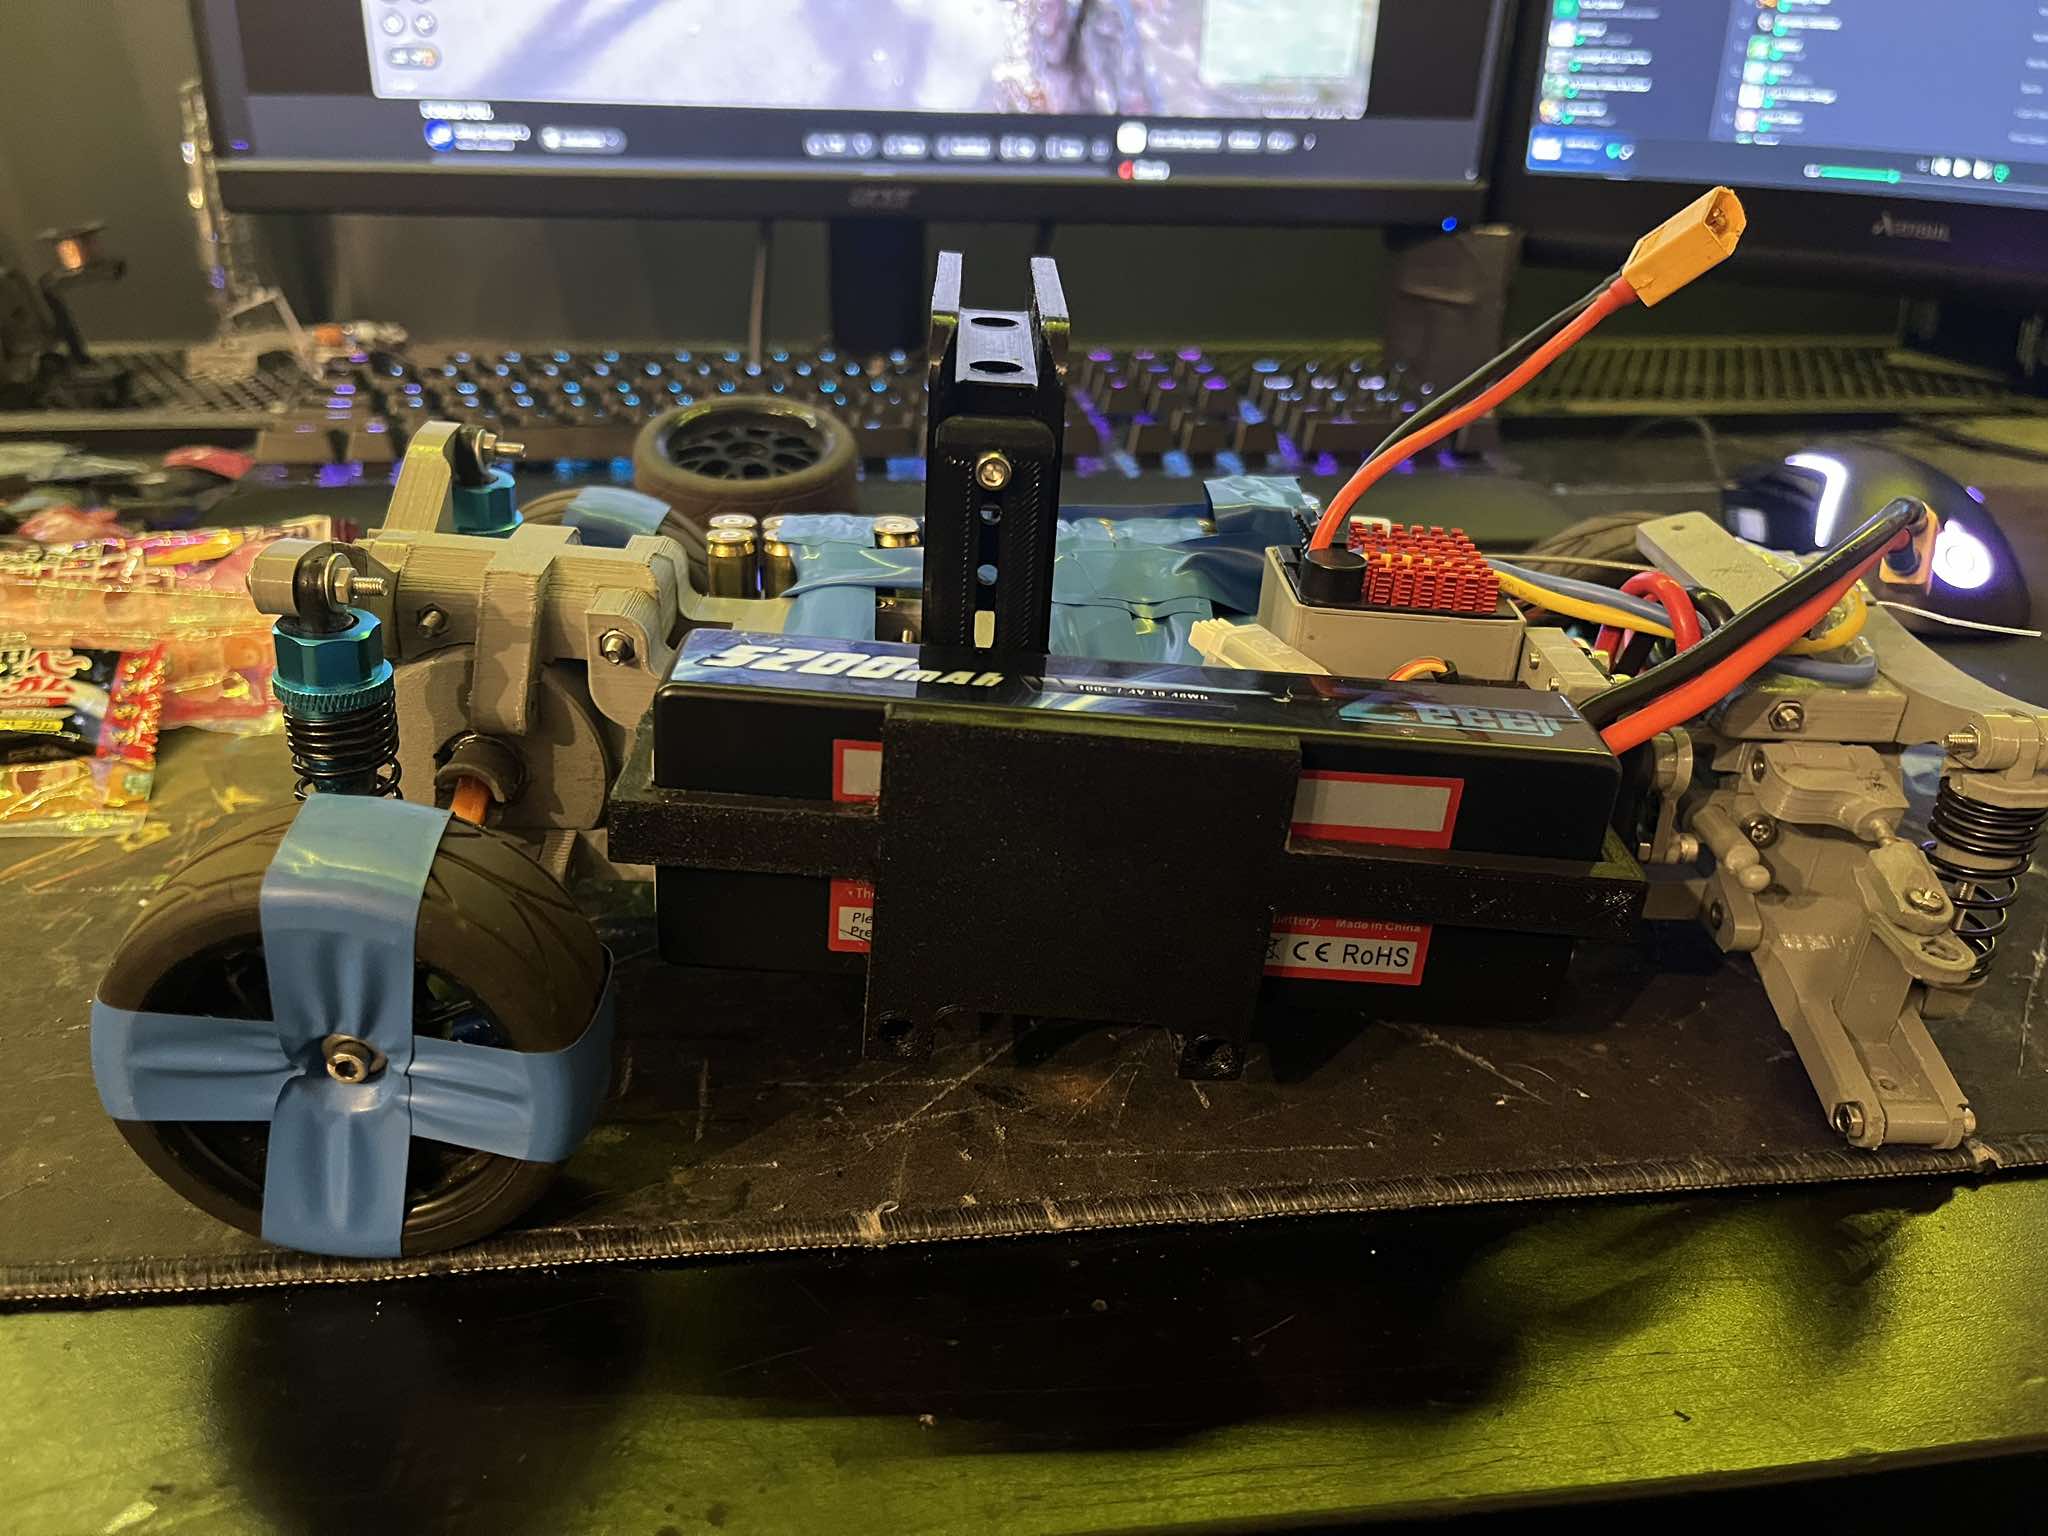
Quote from Kelpik on September 24, 2024, 9:11 pmThe car was constantly doing barrel rolls because its center of mas way too high. So i made a side mount for the battery. The other side is the same weight as the battery just so the center of mass is still in the middle. I will print the other side but for now its held with hopes & dreams and a lot of tape.
The car was constantly doing barrel rolls because its center of mas way too high. So i made a side mount for the battery. The other side is the same weight as the battery just so the center of mass is still in the middle. I will print the other side but for now its held with hopes & dreams and a lot of tape.
Uploaded files:Quote from Szilard on September 26, 2024, 3:38 pmThanks for your feedback!!
We noticed some weight is missing and needed especially the 3D printed parts version – The difference is obvious when you install all the metal made factory parts it gets heavier and the situation improves a bit. In the future we will have to do something about this issue!
Thanks for your feedback!!
We noticed some weight is missing and needed especially the 3D printed parts version – The difference is obvious when you install all the metal made factory parts it gets heavier and the situation improves a bit. In the future we will have to do something about this issue!
Quote from antibala on October 10, 2024, 10:20 pmHello new improvement are here.
We’ll be adding these updates to the download folder soon.
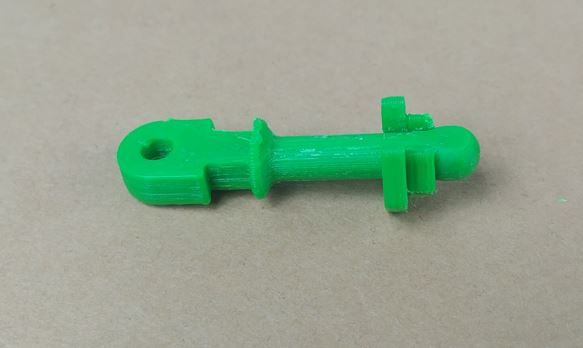
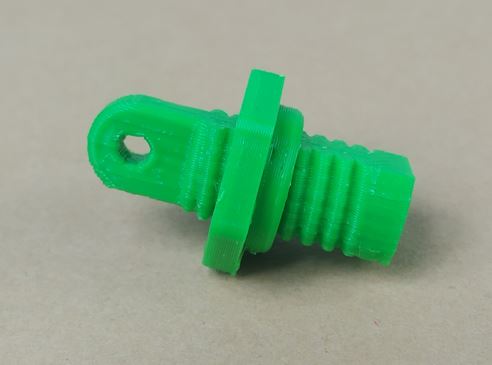
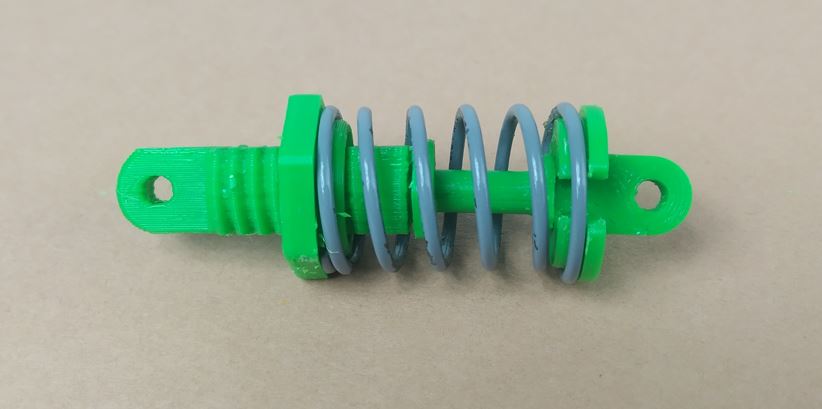
First up is a fully 3D-printed shock absorber designed to be assembled with a purchased spring.
The inner diameter of the spring is 12-14 mm
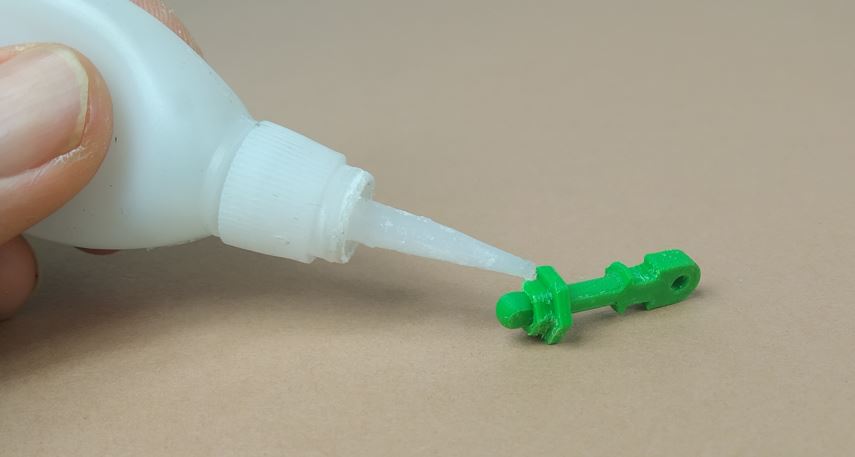
A little nut need to be glued to the base part after it was snapped to the shaft.
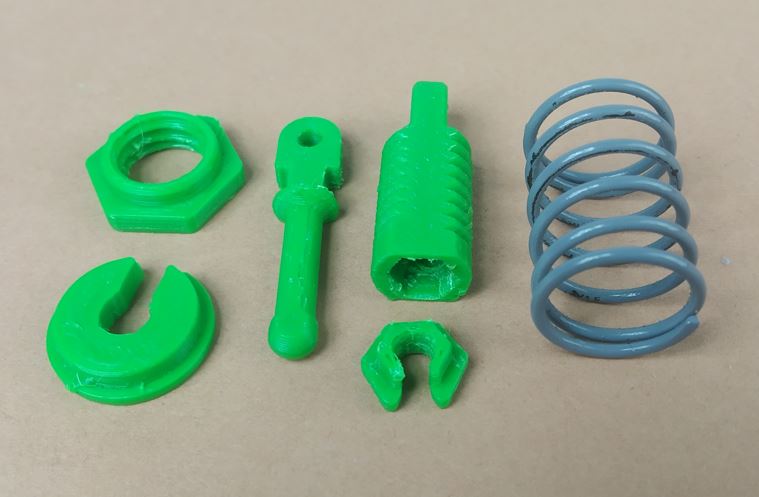
Hello new improvement are here.
We’ll be adding these updates to the download folder soon.
First up is a fully 3D-printed shock absorber designed to be assembled with a purchased spring.
The inner diameter of the spring is 12-14 mm
A little nut need to be glued to the base part after it was snapped to the shaft.
Uploaded files:Quote from antibala on October 10, 2024, 10:28 pmAdjustable connecting part linking the front and rear of the chassis,
with a wheelbase range of 261-273 mm, and a larger option of 273-285 mm.
I believe this enhances the chassis’s versatility and allows the connecting element to be used with other cars.
Adjustable connecting part linking the front and rear of the chassis,
with a wheelbase range of 261-273 mm, and a larger option of 273-285 mm.
I believe this enhances the chassis’s versatility and allows the connecting element to be used with other cars.
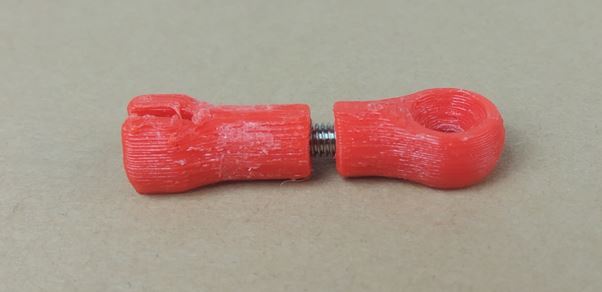
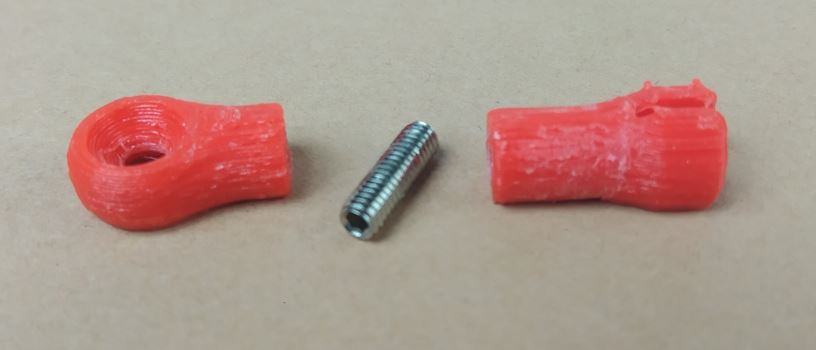
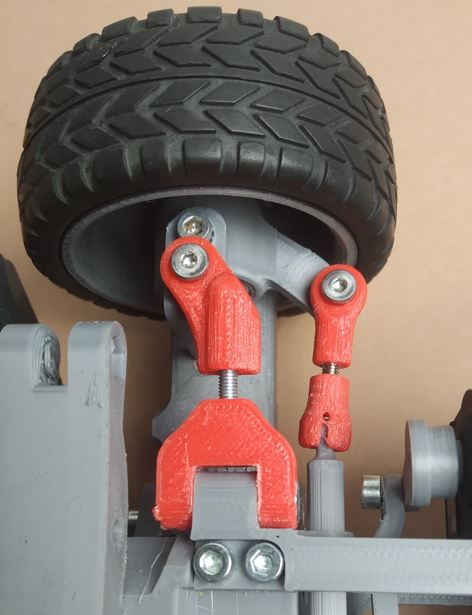
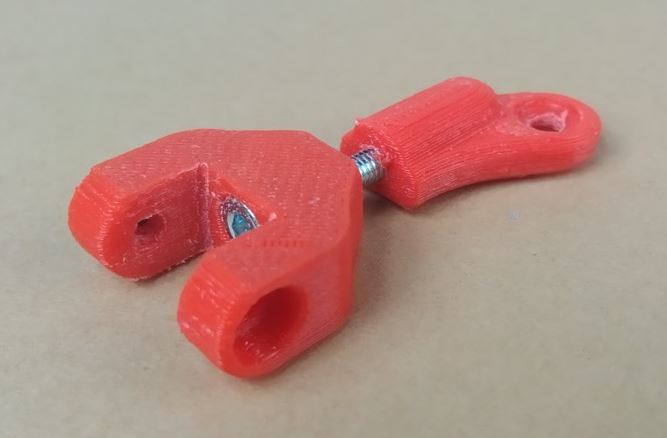
Uploaded files:Quote from antibala on October 10, 2024, 10:39 pmAdjustable steering joint for setting the wheels to either toe-in or toe-out alignment.
The two parts are connected using a DIN913 hex socket set screw with a flat point, size M3x8-16 mm
Adjustable steering joint for setting the wheels to either toe-in or toe-out alignment.
The two parts are connected using a DIN913 hex socket set screw with a flat point, size M3x8-16 mm
Uploaded files:Quote from antibala on October 10, 2024, 10:43 pmYou also made some improvements to the bumper! 🙂
I designed mine a bit differently
You also made some improvements to the bumper! 🙂
I designed mine a bit differently
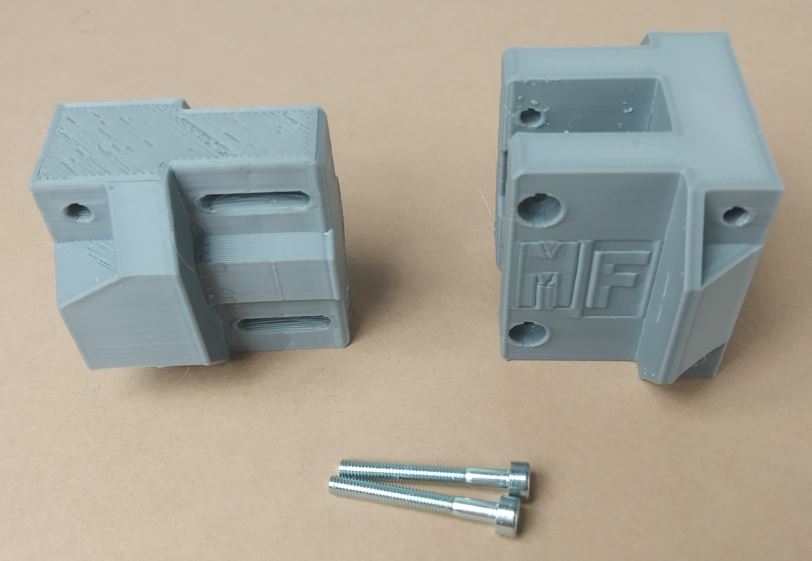
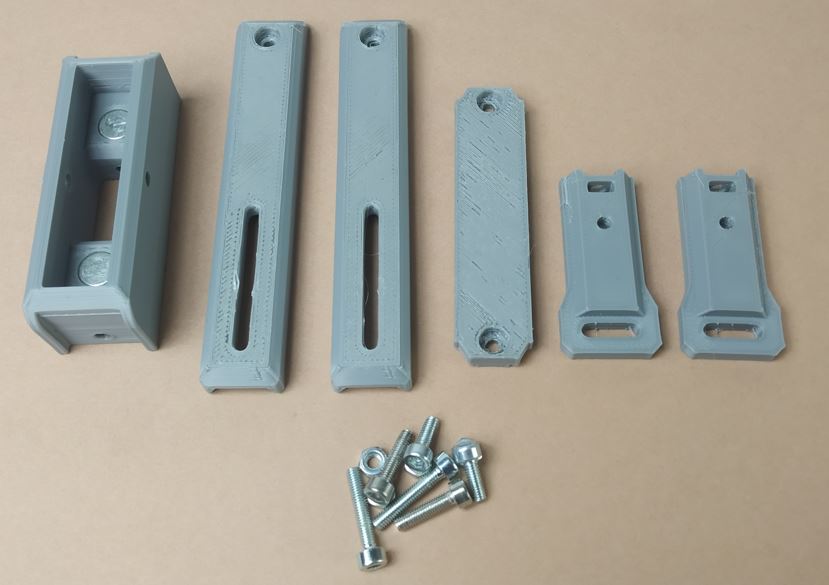
Uploaded files:Quote from antibala on October 10, 2024, 10:46 pmI’ve already designed many versions of this bracket.
This one will require a bit more assembly but will be stronger.
I’ve already designed many versions of this bracket.
This one will require a bit more assembly but will be stronger.
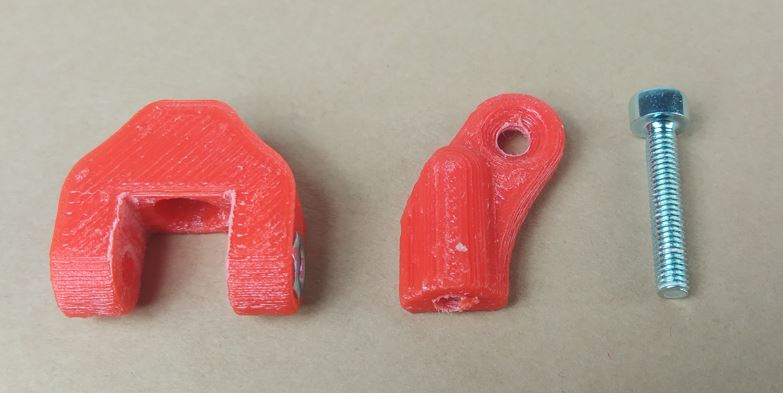
Uploaded files:Quote from antibala on October 10, 2024, 10:53 pmWith this modification, the upper arm will be much easier to produce—no more cutting of threaded rods!
It was a mistake not to use this from the beginning.
Only a DIN912 M3 bolt is needed to connect the two parts.
With this modification, the upper arm will be much easier to produce—no more cutting of threaded rods!
It was a mistake not to use this from the beginning.
Only a DIN912 M3 bolt is needed to connect the two parts.
Uploaded files:Quote from kevman1 on October 12, 2024, 6:23 pmI’m looking for a way to mount the bodies designed for this chassis ( https://www.thingiverse.com/thing:4892947 ) to the Destiny, any ideas ? I have several bodies from Cults (https://cults3d.com/en/users/CarPrint/3d-models) which are amazing, but the Dukedoks chassis is not durable and would love to try this one out. I made a custom brace for those bodies here (https://ibb.co/D8gfdDJ)
Would love to hear some ideas, I can try to design something , but don’t know where to begin.
I’m looking for a way to mount the bodies designed for this chassis ( https://www.thingiverse.com/thing:4892947 ) to the Destiny, any ideas ? I have several bodies from Cults (https://cults3d.com/en/users/CarPrint/3d-models) which are amazing, but the Dukedoks chassis is not durable and would love to try this one out. I made a custom brace for those bodies here (https://ibb.co/D8gfdDJ)
Would love to hear some ideas, I can try to design something , but don’t know where to begin.
Quote from antibala on October 14, 2024, 7:48 amHello Kevman,
Very interesting what you do 🙂
I have some ideas for the front mounting of the body:
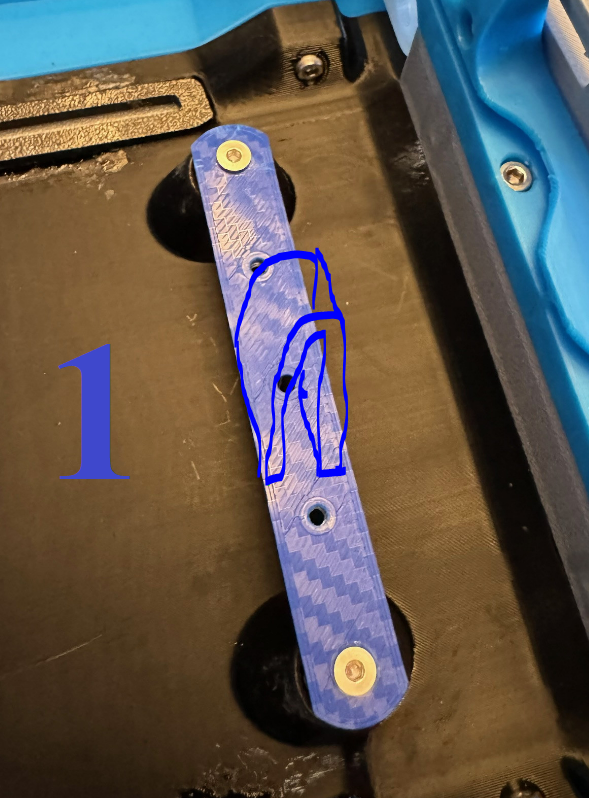
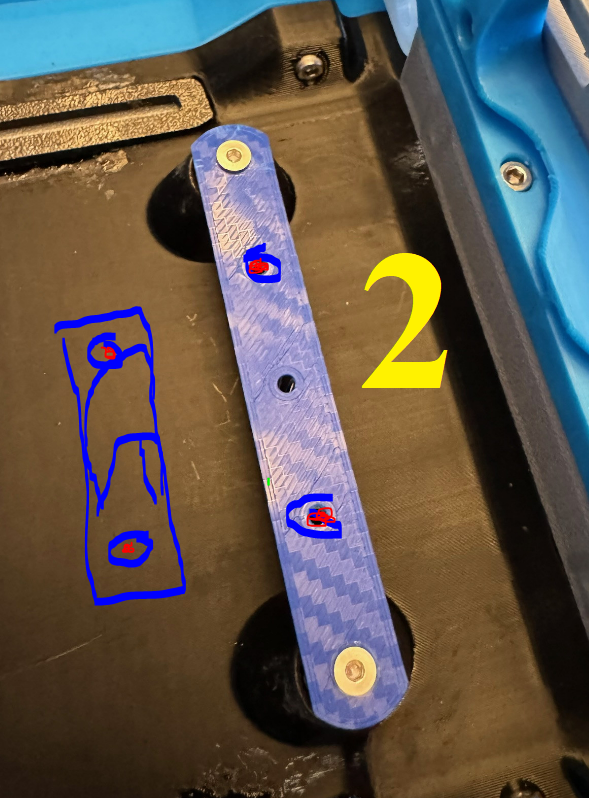
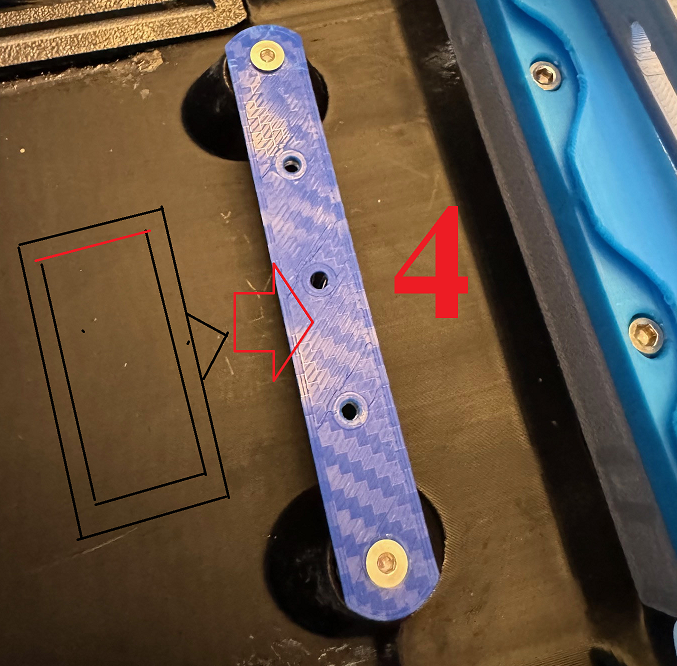
1.) You could design the same clamp as ours, ,if it fits in height
2.) You can try to mount our bracket to yours. Need to align the holes on your bracket.
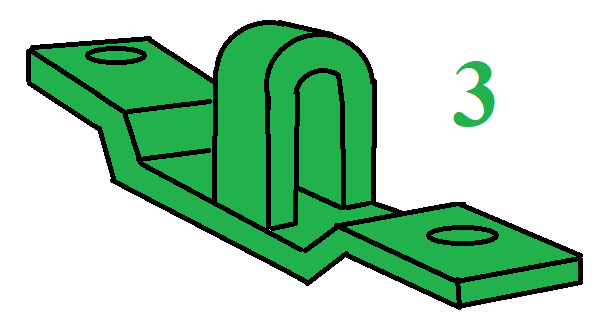
3.) If the height not enough, you could try to design something like this.
4.) If our companion piece bracket (which goes to the body) fits into the two cone, you can use our system.
Our rear mounting is at the roof of the car. I think it can be applied without any difficulty. As far as I know, he’s not fixing the body at the roof.
In this video you can learn our fixing method (with 2-2 brackets and magnets):
https://www.youtube.com/watch?v=gocSfy8zPko&t=696s
at 35:34 the front brackets
at 38:11 the rear brackets
If you find a solution please share with us 🙂
Best regards,
Balázs
Hello Kevman,
Very interesting what you do 🙂
I have some ideas for the front mounting of the body:
1.) You could design the same clamp as ours, ,if it fits in height
2.) You can try to mount our bracket to yours. Need to align the holes on your bracket.
3.) If the height not enough, you could try to design something like this.
4.) If our companion piece bracket (which goes to the body) fits into the two cone, you can use our system.
Our rear mounting is at the roof of the car. I think it can be applied without any difficulty. As far as I know, he’s not fixing the body at the roof.
In this video you can learn our fixing method (with 2-2 brackets and magnets):
at 35:34 the front brackets
at 38:11 the rear brackets
If you find a solution please share with us 🙂
Best regards,
Balázs
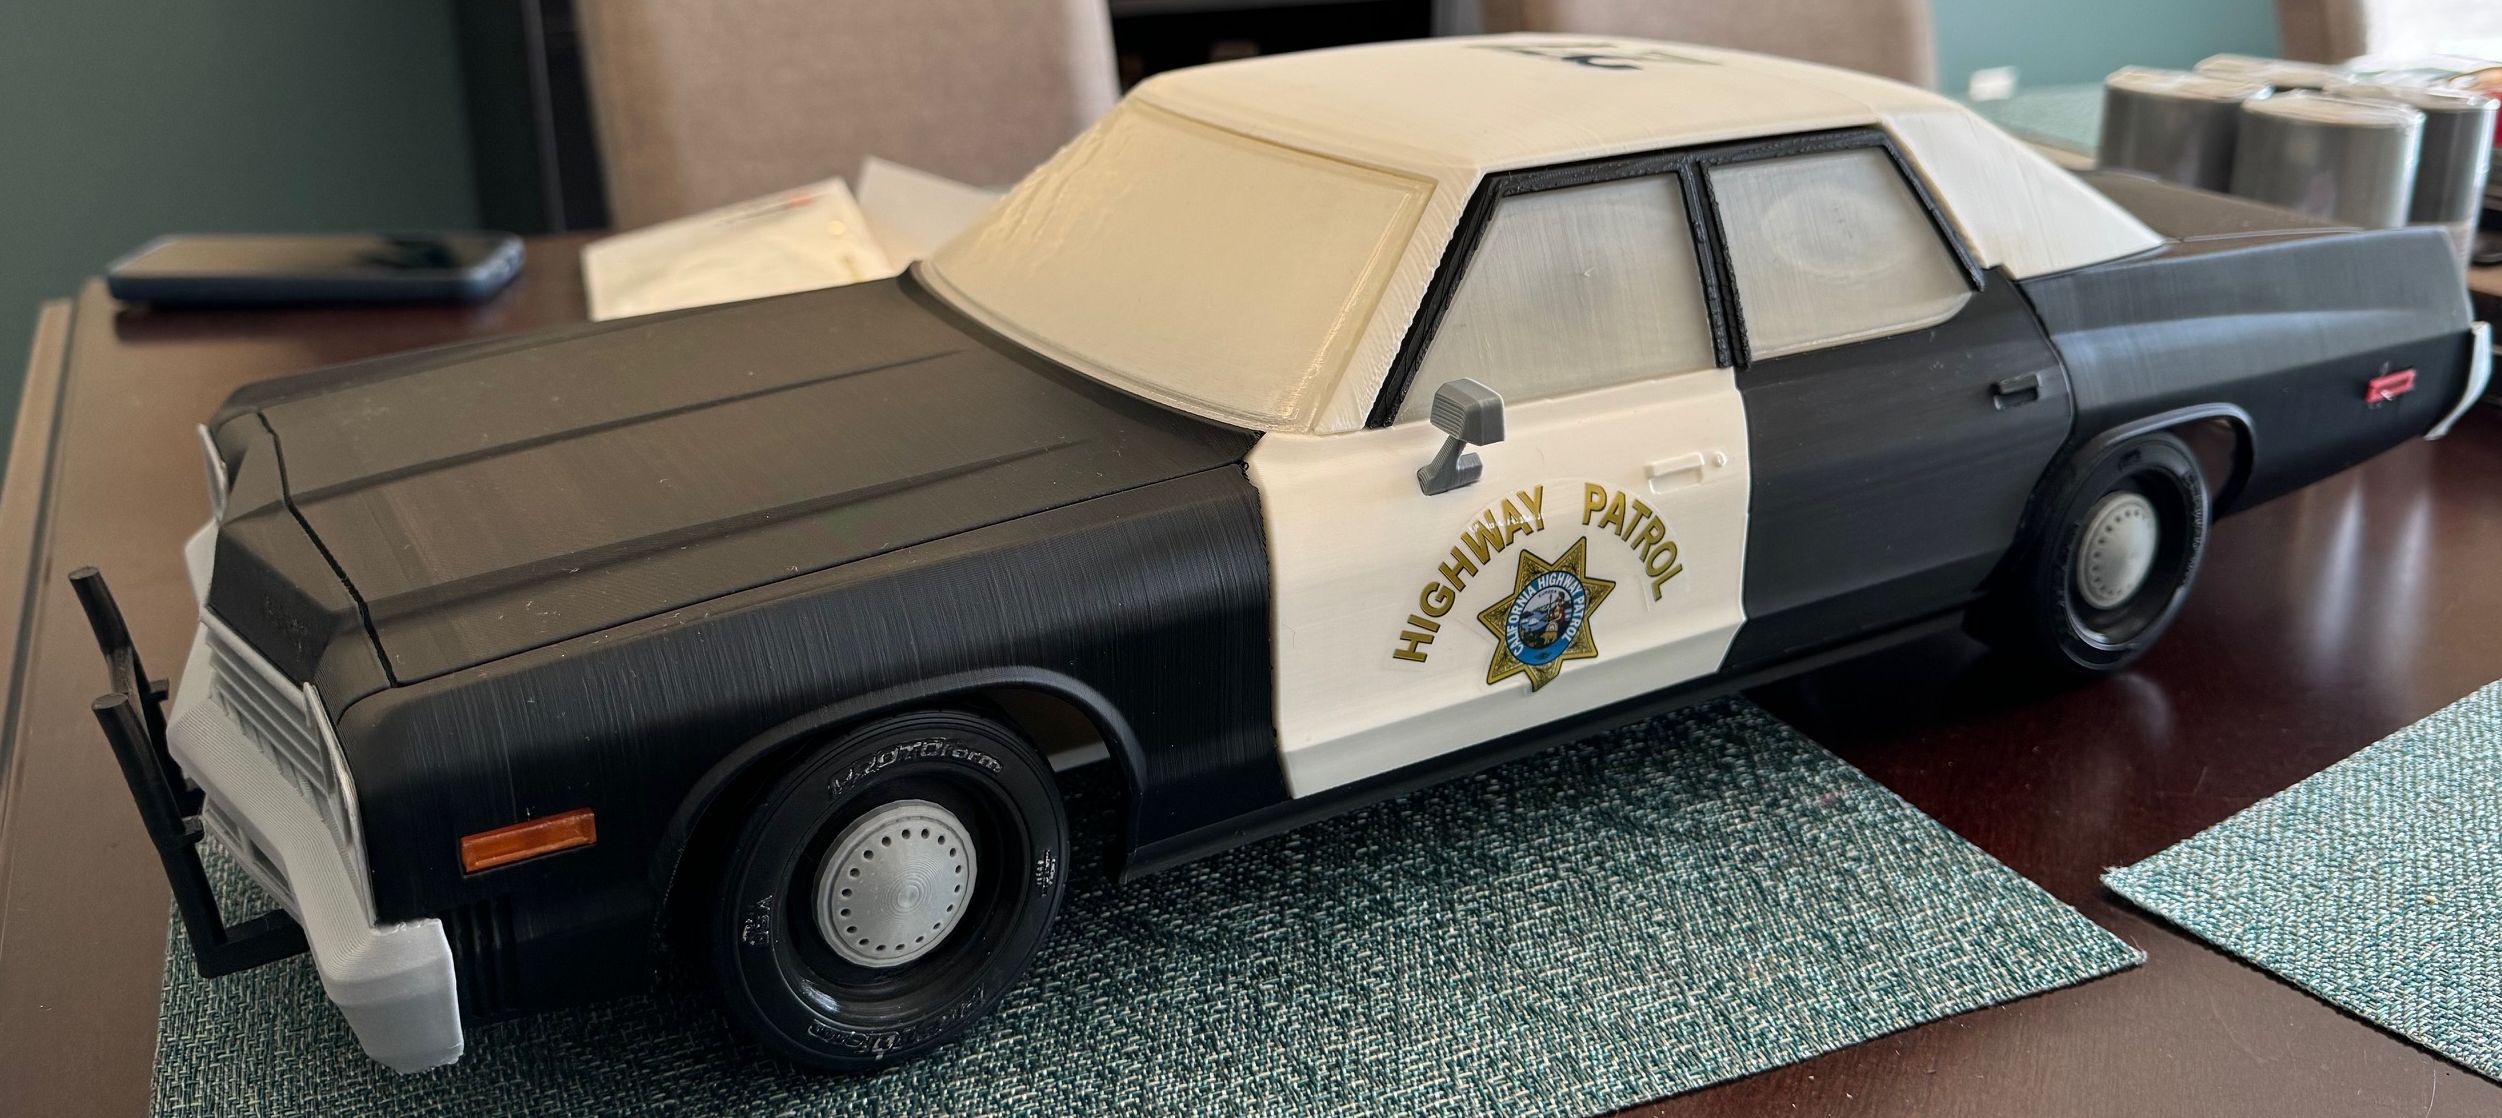
Uploaded files:Quote from kevman1 on October 18, 2024, 4:06 amThank you for the ideas and response. I spoke to the designer on Cults and he mentioned that he tried to get your permission to use your chassis’s to design his bodies, but he was not able to , would you consider it ? It would be amazing, he is CarPrint on Cults. here are some of his amazing bodies that I have printed.
Thank you for the ideas and response. I spoke to the designer on Cults and he mentioned that he tried to get your permission to use your chassis’s to design his bodies, but he was not able to , would you consider it ? It would be amazing, he is CarPrint on Cults. here are some of his amazing bodies that I have printed.
Uploaded files:
Quote from antibala on October 21, 2024, 1:17 pmHello Kevman1,
Destiny is available for free use. If you or anybody choose to use it, we kindly ask that you mention us or share our website as its source.
thanks,
best regards
Balázs
Hello Kevman1,
Destiny is available for free use. If you or anybody choose to use it, we kindly ask that you mention us or share our website as its source.
thanks,
best regards
Balázs
Quote from kevman1 on October 24, 2024, 2:25 amIs there a way to use Tamiya style Turnbuckles for the front and rear? I have an abundance of those laying around. If not where are you sourcing the threaded rod for the turnbuckle in those sizes ?
Is there a way to use Tamiya style Turnbuckles for the front and rear? I have an abundance of those laying around. If not where are you sourcing the threaded rod for the turnbuckle in those sizes ?
Quote from kevman1 on October 24, 2024, 4:06 amQuote from antibala on October 10, 2024, 10:53 pmWith this modification, the upper arm will be much easier to produce—no more cutting of threaded rods!
It was a mistake not to use this from the beginning.
Only a DIN912 M3 bolt is needed to connect the two parts.
Where are the STL for these files?
Quote from antibala on October 10, 2024, 10:53 pmWith this modification, the upper arm will be much easier to produce—no more cutting of threaded rods!
It was a mistake not to use this from the beginning.
Only a DIN912 M3 bolt is needed to connect the two parts.
Where are the STL for these files?
Quote from antibala on October 25, 2024, 12:14 pmHello Kevman,
I will upload the new FILES this weekend. The threaded rods are cutted from 1 meter rod, which you can buy in a hardware store.
The new one with bolt will be much easier and better solution.
You can try the Tamiya turnbuckles i not tried them yet.
Hello Kevman,
I will upload the new FILES this weekend. The threaded rods are cutted from 1 meter rod, which you can buy in a hardware store.
The new one with bolt will be much easier and better solution.
You can try the Tamiya turnbuckles i not tried them yet.
Quote from kevman1 on October 26, 2024, 5:26 pmmy frankenstein, I have adapted your drive unit and rear to the dukedok’s chassis! Still need the turnbuckles and dogbones but this is looking great.
https://ibb.co/gSpdPzM
my frankenstein, I have adapted your drive unit and rear to the dukedok’s chassis! Still need the turnbuckles and dogbones but this is looking great.
Did you know??? You can set your profile image in My Account/Profile&Membeship/Edit Profile!
Get discounts
-25% -50% -75%
while supporting our work for better Chassis 🙂
Let’s Grow Together!
